Can you even believe tomorrow is Thanksgiving?! I feel like this month has flown by, but maybe that’s just because I’ve been hard at work getting this blog up and running! You know what they say, time flies when you’re having fun! And I really am having a lot of fun creating a beautiful home on a budget, which often means reusing and repurposing things around my home to be used in multiple seasons. One of my favorite ways to do this is by changing up simple wreaths around my house to reflect whichever season we are in. I got this idea from Sarah over at Sarah Joy Blog originally and I just loved how easy it was!
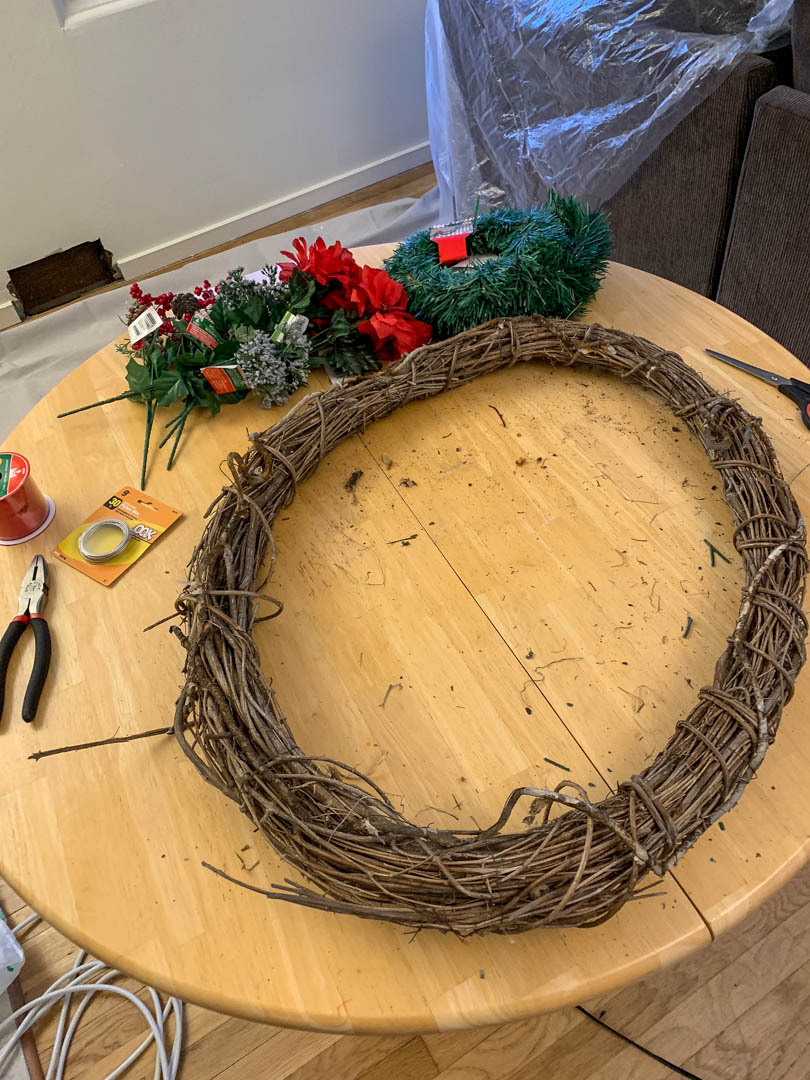
I started this project off with a grapevine wreath that the previous owner of our house had left. Ever since my husband bought the house about three years ago, the wreath has been covered in bright yellow sunflowers. It was super cute and we loved it during the spring, summer and fall seasons. However, after 3+ years exposed to the Michigan elements, it was starting to look a little dingy.

This post contains affiliate links. Click here to read my disclosure policy.
The first thing I did was bring the wreath inside our mudroom for a couple days to dry out. Once it was dry, I brought it inside and started removing all of the old sunflowers and the burlap bow. They had previously been zip tied on, so I just cut off the ties and the flowers came off pretty easily. Just to warn you, if you take an exterior wreath inside, beware of bugs who have made it their home! I had to kill a few spiders that crawled out and even a stink bug!

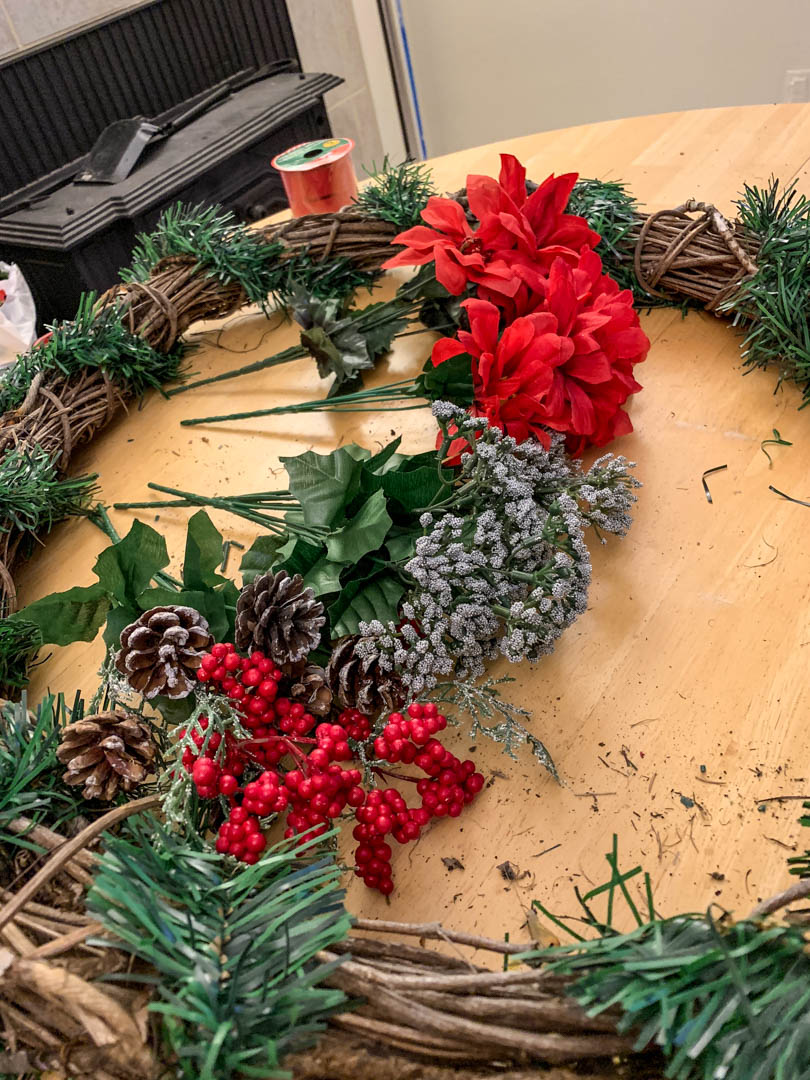
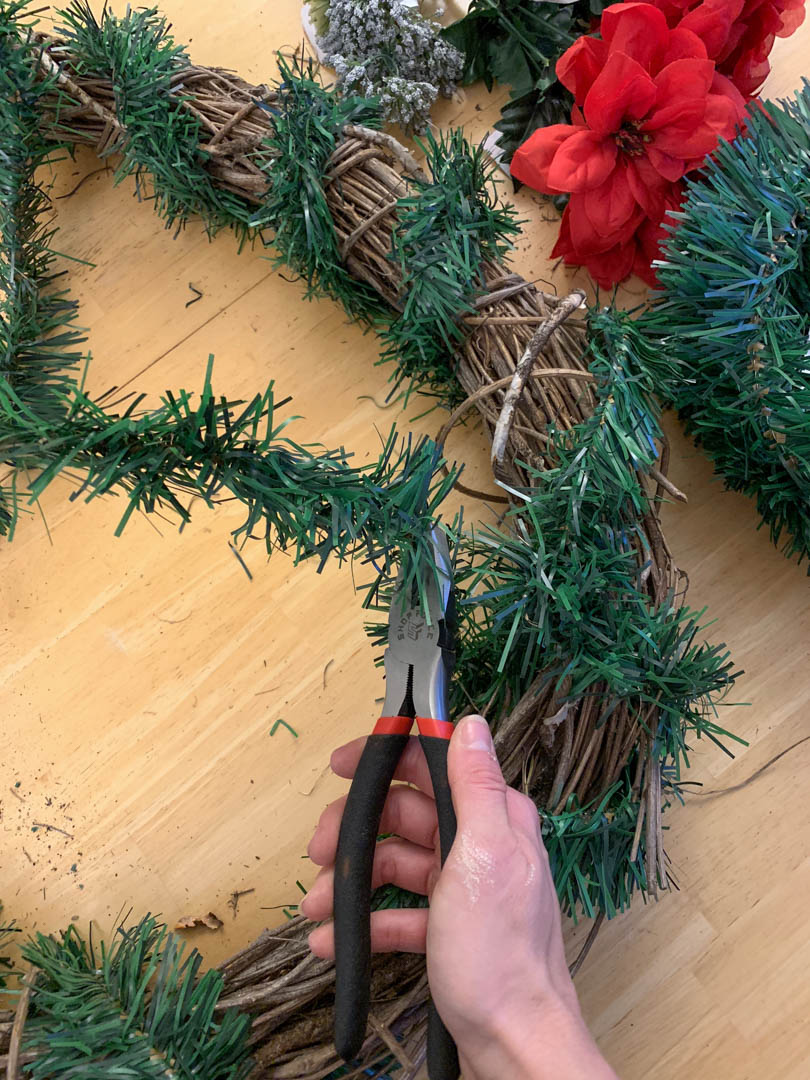
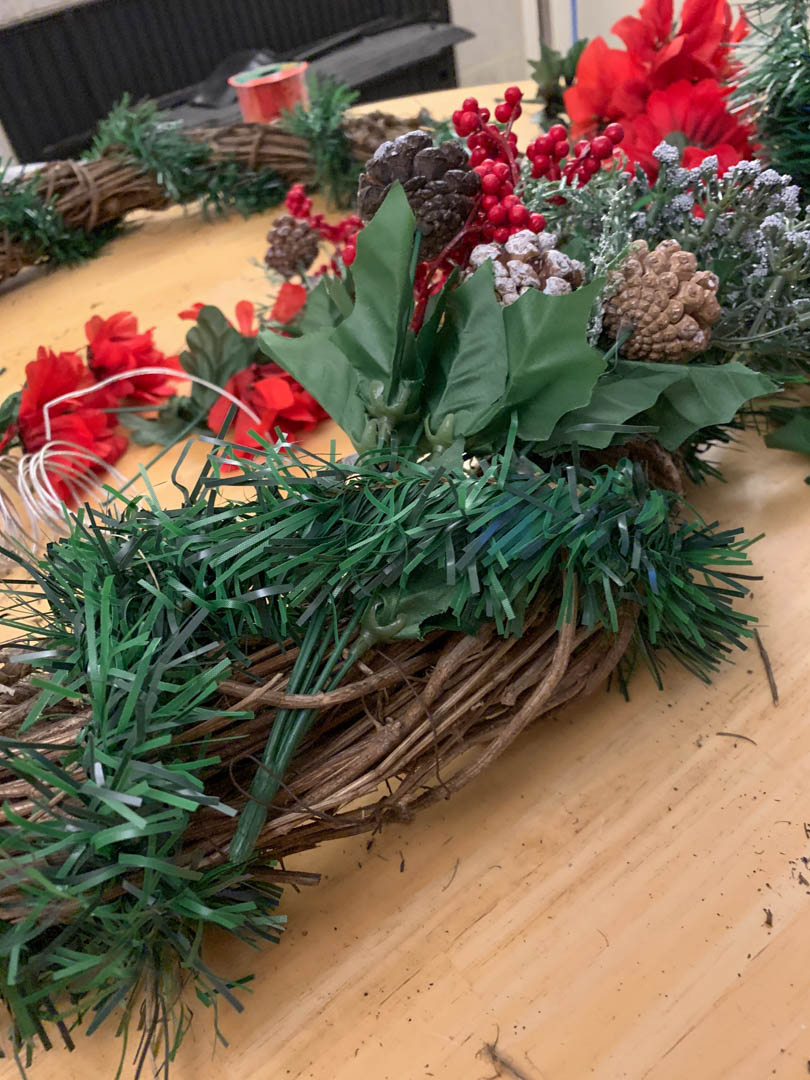
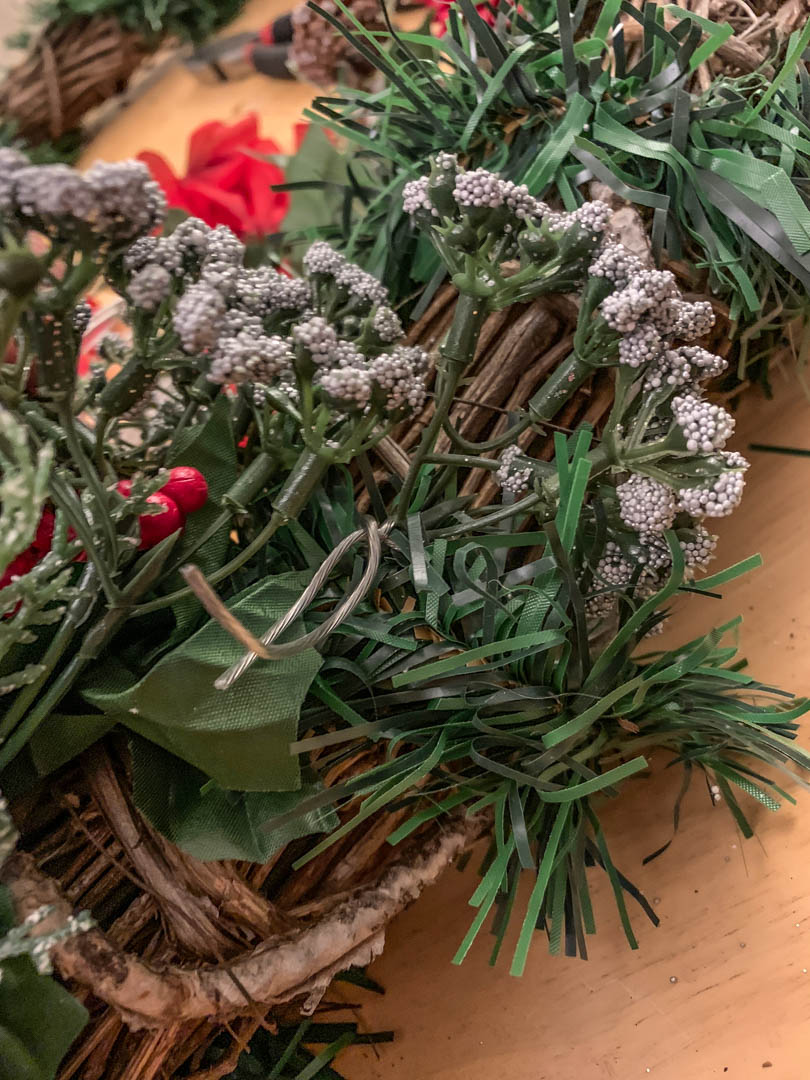
For the customization I used garland and florals that I picked up from The Dollar Tree. I figured they were just going to be outside, so why spend an arm and a leg when they’ll probably only last one season? You will also need some way to attach your materials to your wreath. I actually used picture hanging wire, but that was only out of convenience! We were at Menard’s already picking up paint for our living room and that’s the only small wire I could find. I recommend getting floral wire (here’s some I found on Amazon) but you could also use zip ties or a hot glue gun for a more permanent adhesive.
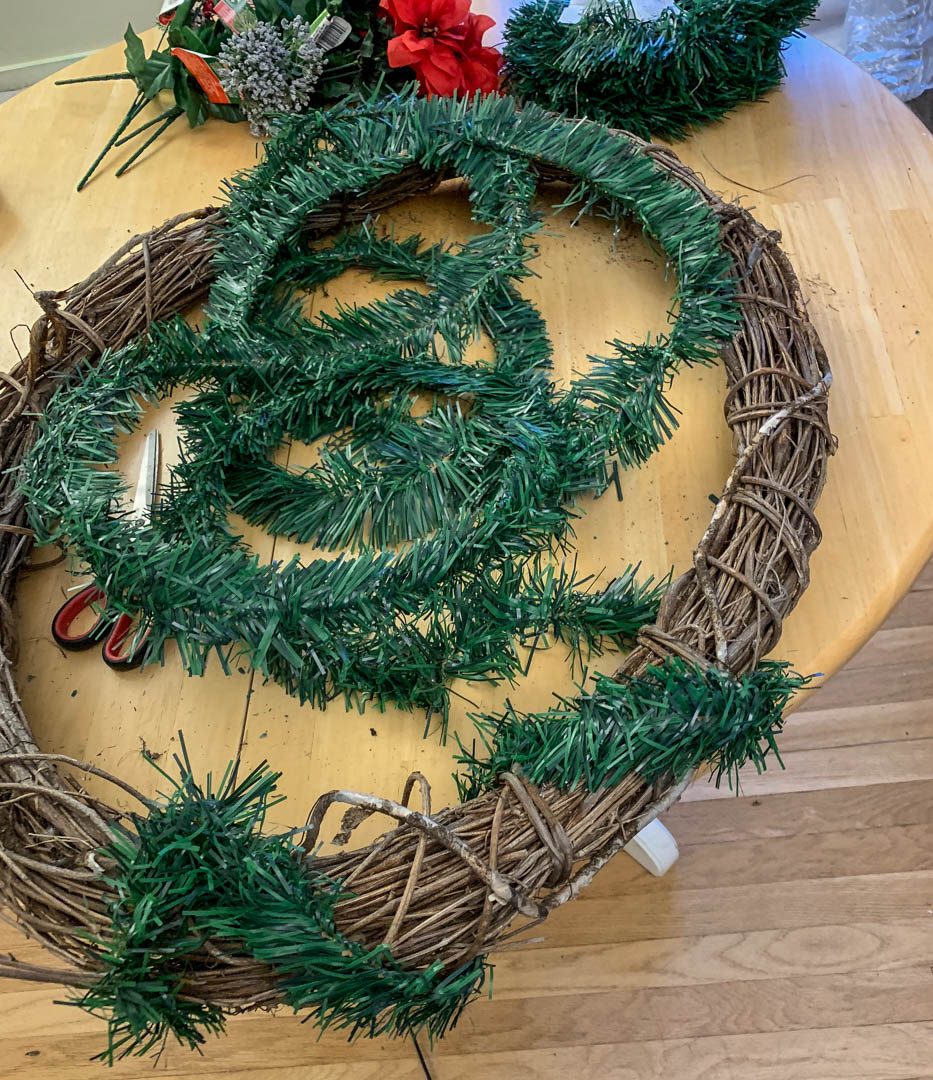
I began by wrapping the garland around the wreath. I wanted a decent amount of festive green, but I also wanted to see the original grapevine. Wrap as tight or loose as you want based on your preferences. Once I had it exactly perfect, I used wire cutters and secured it down.
Next I took one bundle of florals and tucked it under the garland and into the wreath. Secure that bundle with your wire and then hide the wire with either the next bunch of florals or under your previously attached garland. Super simple! Keep going with this process until you have as many or as few pops of color as you like.
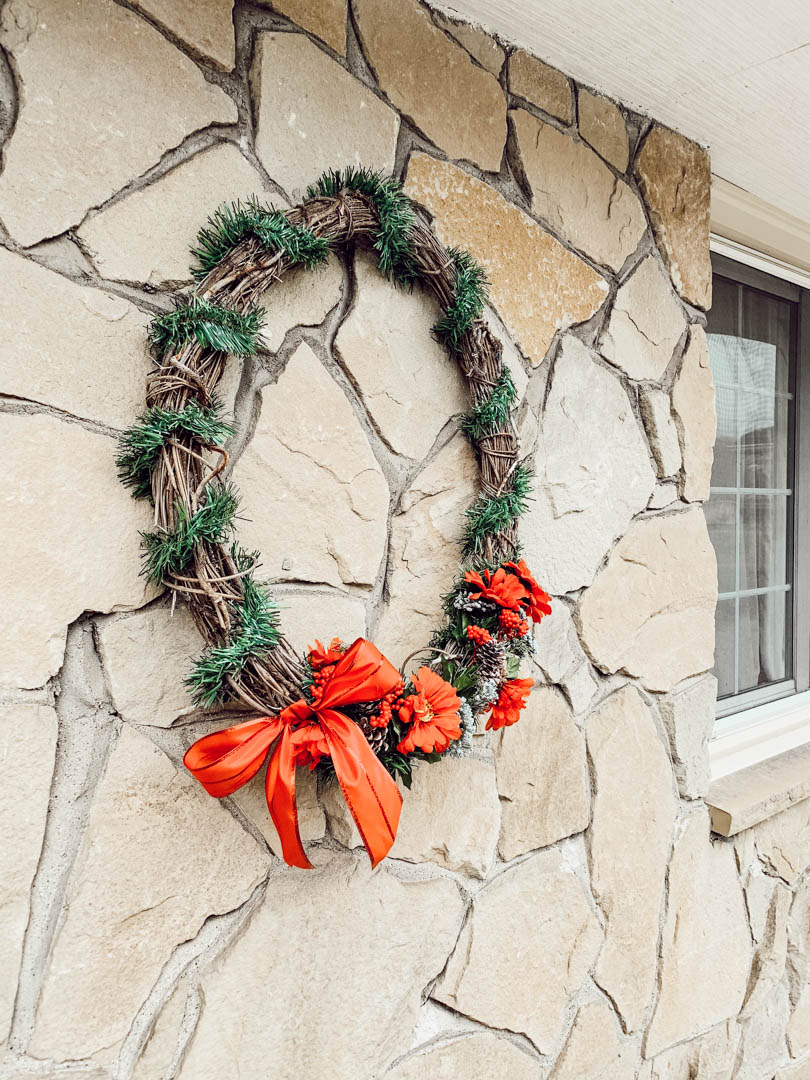
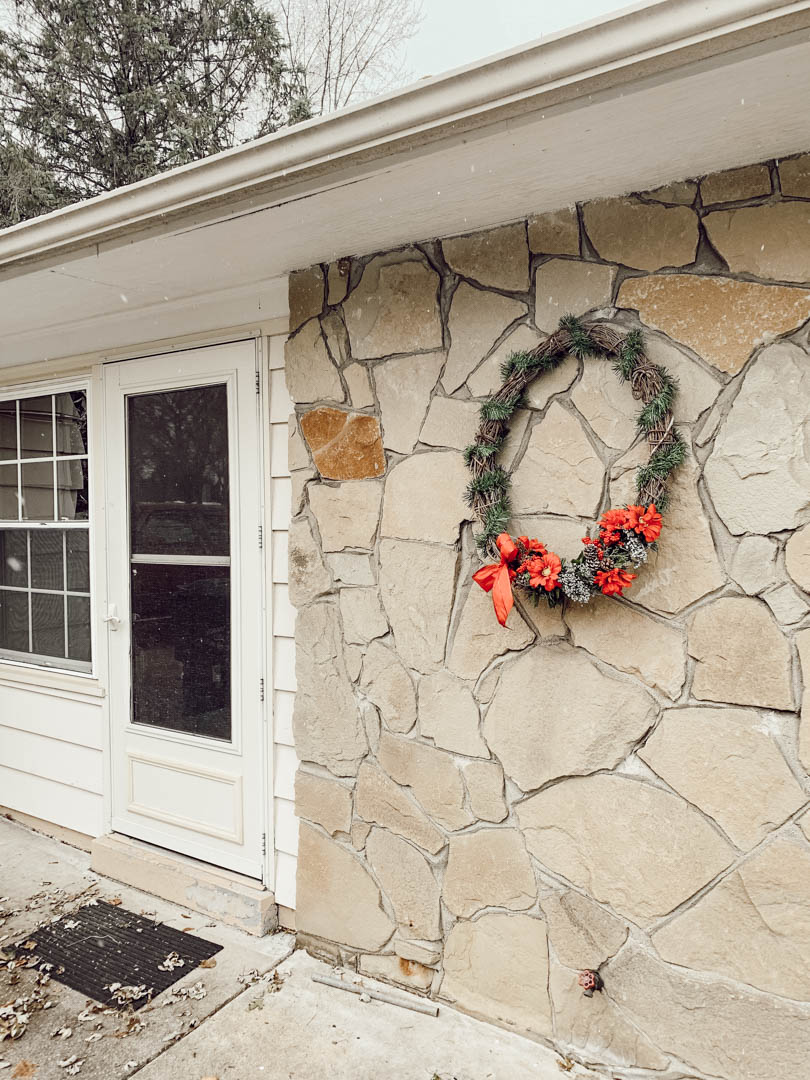
I love how this turned out and it literally cost me less than $10! Talk about bang for your buck! If you don’t already have a grapevine wreath, there are a ton for a decent price on Amazon. I’ll link a few of my favorites below. If you try this out, I’d love to see what you come up with! Tag me on Instagram or use my hashtag #beauplacelikehome!


Don’t mind the pumpkins still out on my front porch 🙂 We’re in a season of transition still!
Amazon Grapevine Finds
- 10″ Grapevine Wreath
- 18″ Grapevine Wreath
- 30″ Grapevine Wreath
- 7″ for mini wreath projects!
- 12″ three pack

Beautiful!
Thank you so much!!
You did such a great job on the wreath. You’re inspiring me to get creative!
Thank you! But you already are. Your parties are so creative!