Hello and happy Tuesday morning. Today I’m going to show you a super easy way to add dimension, texture and character to any wall in your home – with shiplap! Well, shiplap-ish. I know what you’re thinking, “Lindsay, what happened to the green accent wall in your master bedroom?” Well, painting requires quite a bit of prep work and I just haven’t had time to do it. So, instead I took on this easy shiplap wall which was easy to do in my spare time and can be broken up into different segments when you find the time!
This post contains affiliate links. Click here to view my disclosure policy.
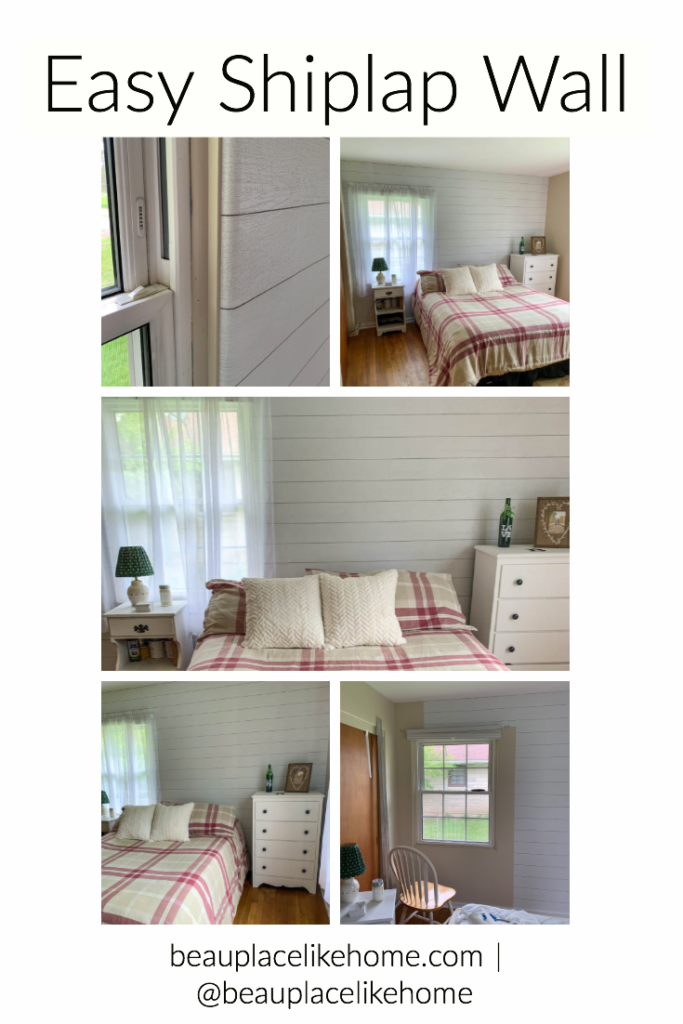
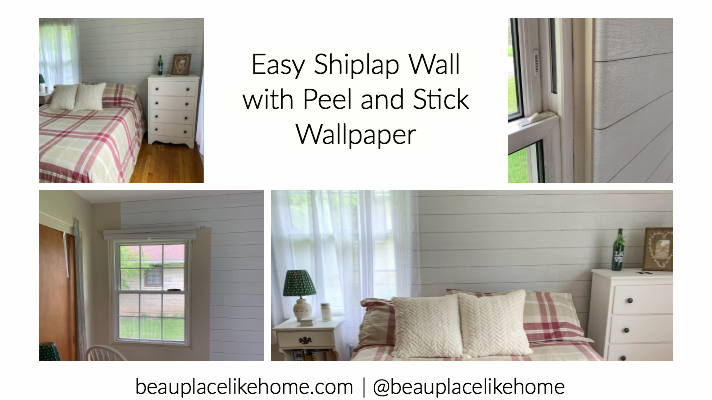
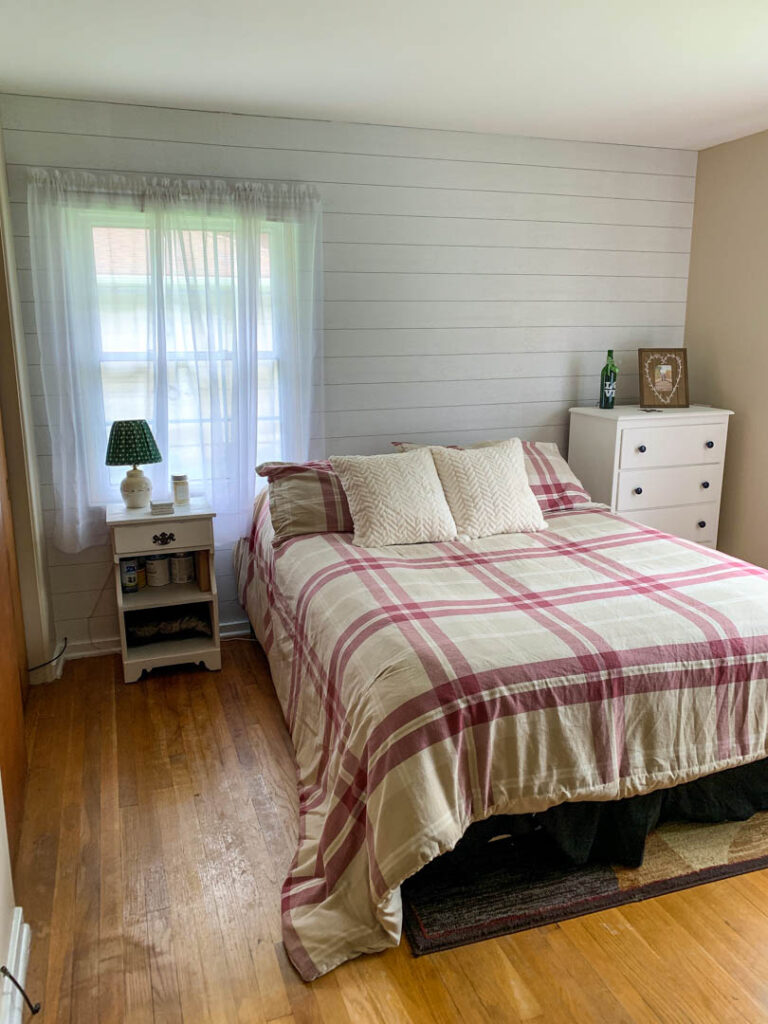
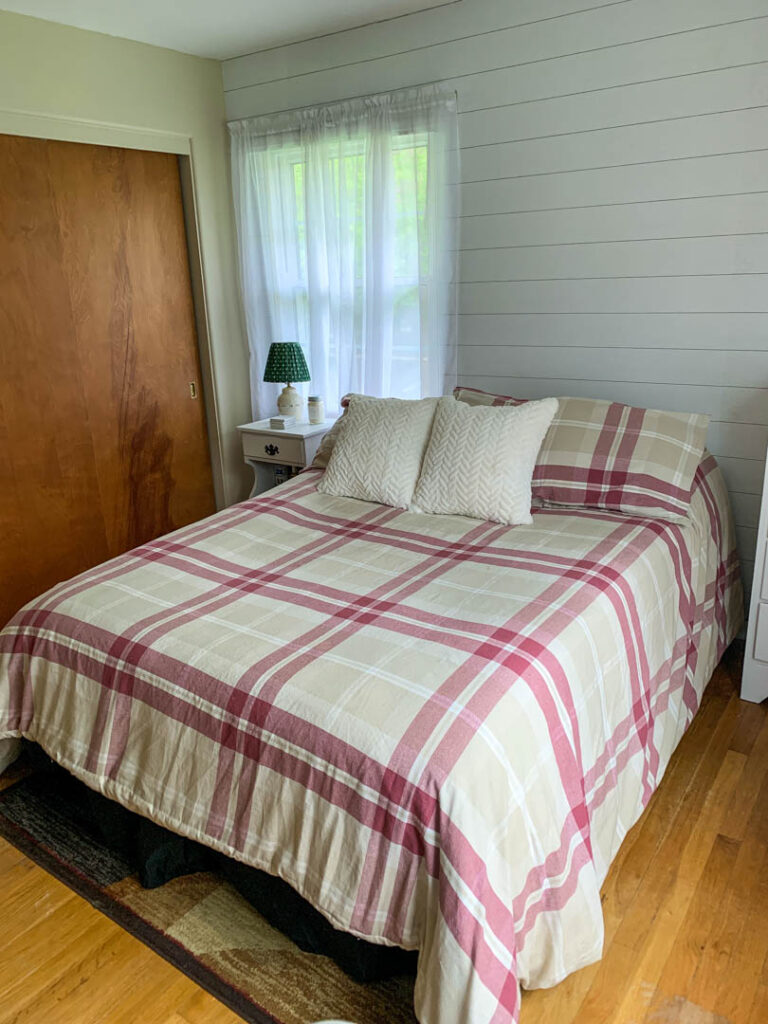
You may remember when we added shiplap to our bathroom (tutorial here). I absolutely LOVED the way it modernized our bathroom, but it was quite a bit of work. So this time, I did something a little different – wallpaper! Yes, the shiplap in our guest bedroom is actually peel and stick wallpaper that I got from Target!
Now, this room is far from done, but it was one of my goals this spring to get this room started. In typical “Lindsay fashion” I forgot to take a before photo, but in your head, imagine a drop zone. This was the room that we piled up things that we didn’t want to put way. Don’t judge me, ok? It was bad. Now, though, we’re ready to start accommodating guests, and it all started with this easy shiplap wall.

I first got the idea of doing shiplap wallpaper from my friend Amanda at @comestayawhile. She had done it in her laundry closet and it looked so amazing that I figured I’d give it a try. As much as I really do love the product, I was rather disappointed with the amount of wallpaper in one roll. See that picture above? That was one roll. And to think, I only bought one roll at first because I thought two might be too much! I had to go out and buy two more rolls to finish off this wall.

My favorite part about this peel and stick wallpaper was that is is SUPER easy to use. The only tricky part about this project was going around this window. It required a few cuts that weren’t the easiest, but I just used an x-acto knife which cut through the wallpaper rather easily. Another reason I wanted to use the shiplap wallpaper is because of our trim. See below.

Our home was built in the 1950’s, so we have some old school bullnose trim. This makes it virtually impossible to do real shiplap on any wall that has a window, because we have no trim to butt up to. I love that the wallpaper can fold over these round edges, and blend in to the trim. And look at that texture!
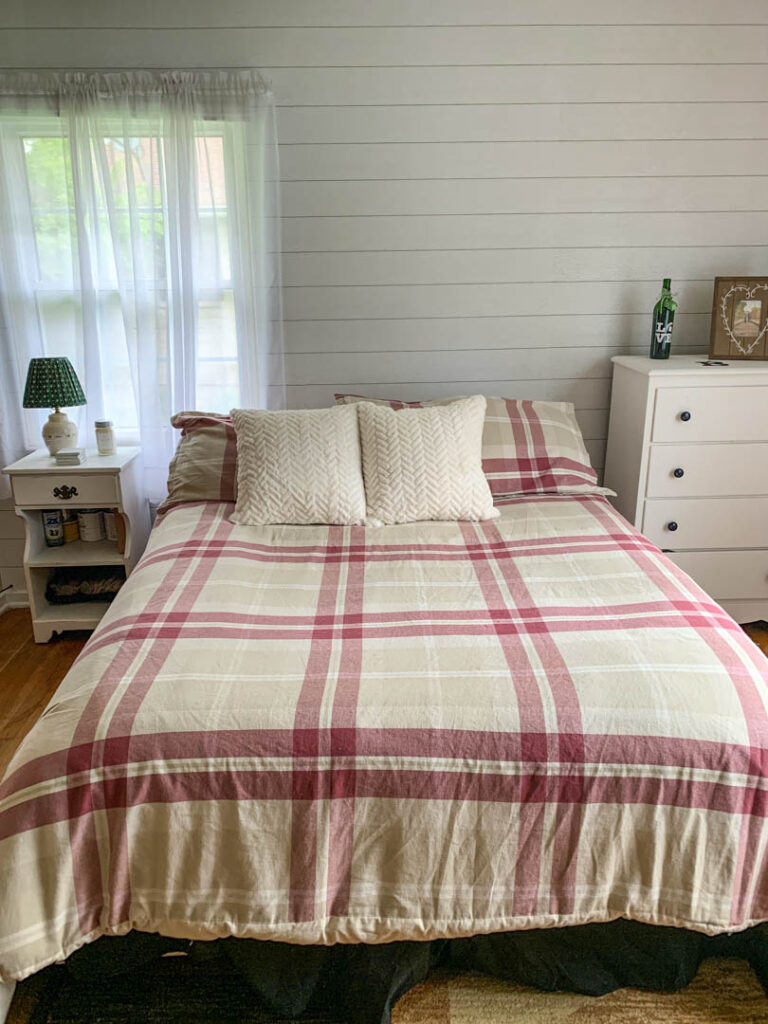
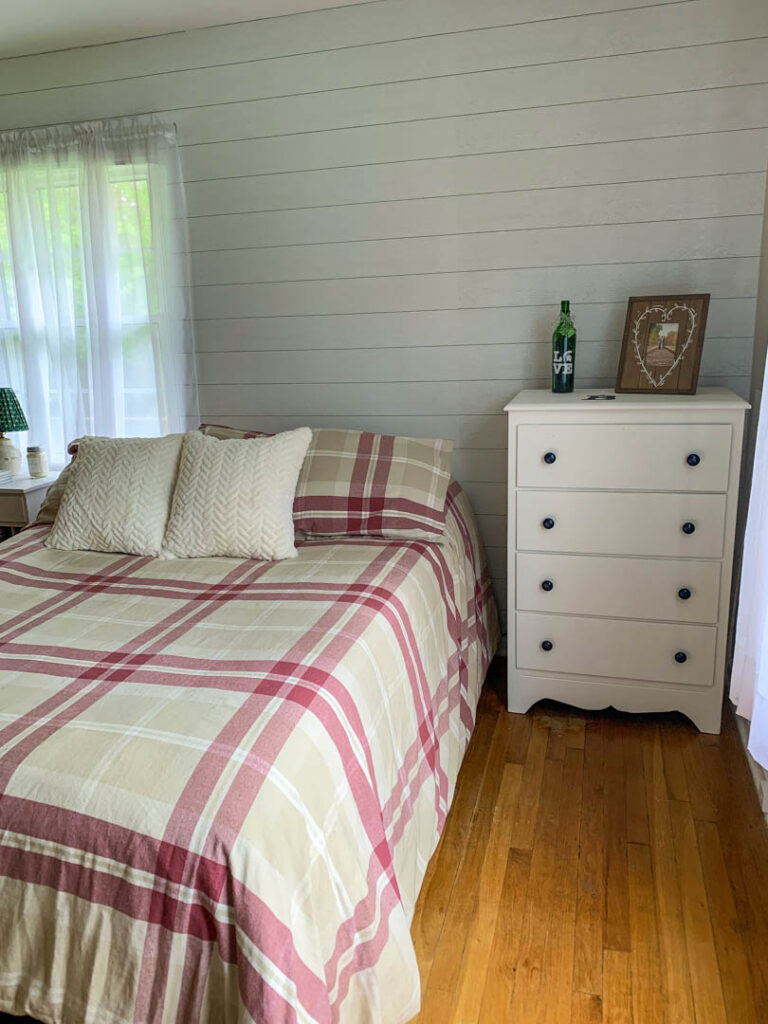
Because we got a new comforter in our master bedroom, we brought our old one into the guest bedroom. It’s much cuter and more comfortable than the old one we had in here. My goal is to make this room inviting and cozy for any guests that may want to stay!
Alright, so what do you think? The shiplap wallpaper makes such a big different, right? So here is my honest review of the Shiplap Wallpaper by Valspar. I absolutely love this product. It is easy to use and very forgiving when you make a mistake. It easily peels off and sticks right back on. However, I probably would not use this product again on such a large surface. At $34 per roll, this project cost me over $100 for one wall (although it’s on sale right now!). I wasn’t expecting to pay that much on this project, but I started, so I had to finish. I would recommend this project for a smaller area such as a mudroom or entryway.
Next steps for this guest bedroom: 1. Clean out the closet that I conveniently closed the doors on 🙂 2. Add artwork to the walls! It still seems a little bare and cold in here, but I’m on the hunt for budget friendly wall art to invite our guests in. So tell me, would you use wallpaper in your home, or do you think wallpaper has had it’s time in the spotlight and should be left in the past? Drop me a comment below or let me know on Instagram!