Happy Thursday friends! I went back to work yesterday and let me tell you, getting up at 6:30am was so hard! I am so lucky that the university I work for closes for just about a week and a half at Christmas, so I get those days off and don’t even have to use vacation time. However, once I get used to being home it is so hard to come back. Does anyone out there know how one could become a stay at home dog mom? I’m asking for a friend obviously 🙂
This post contains affiliate links. Click here to view my disclosure policy.
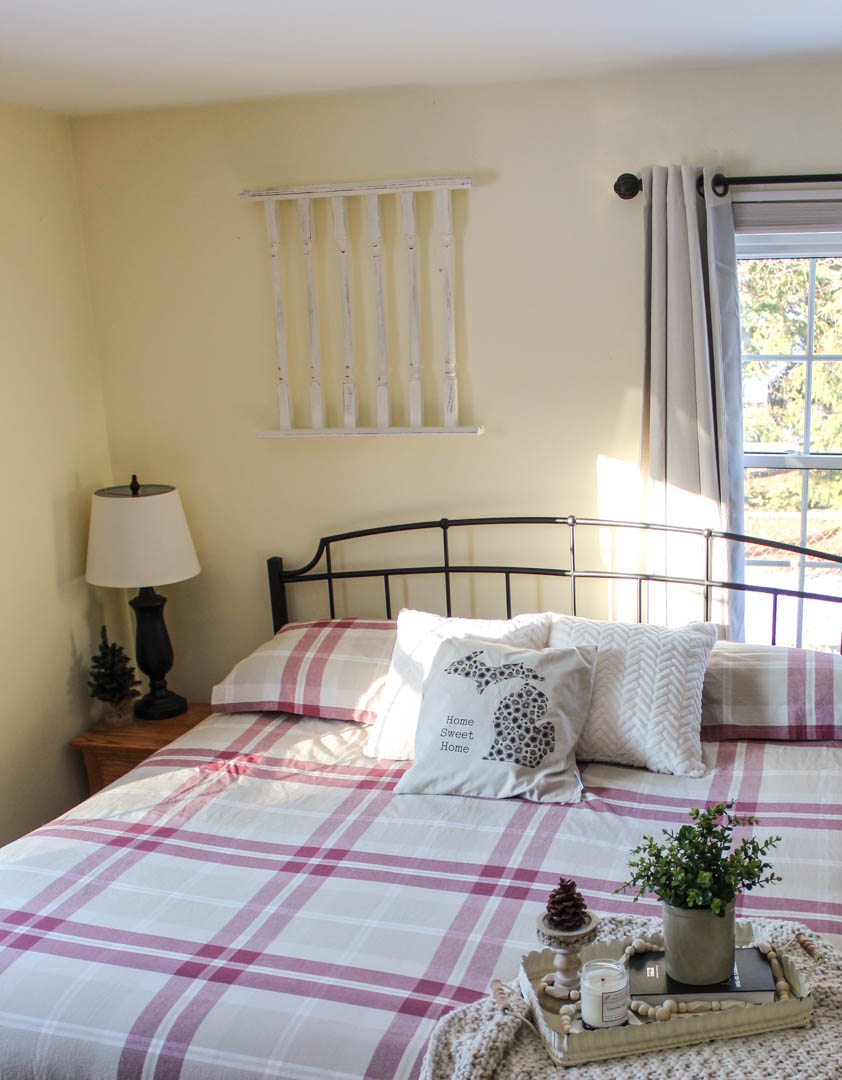
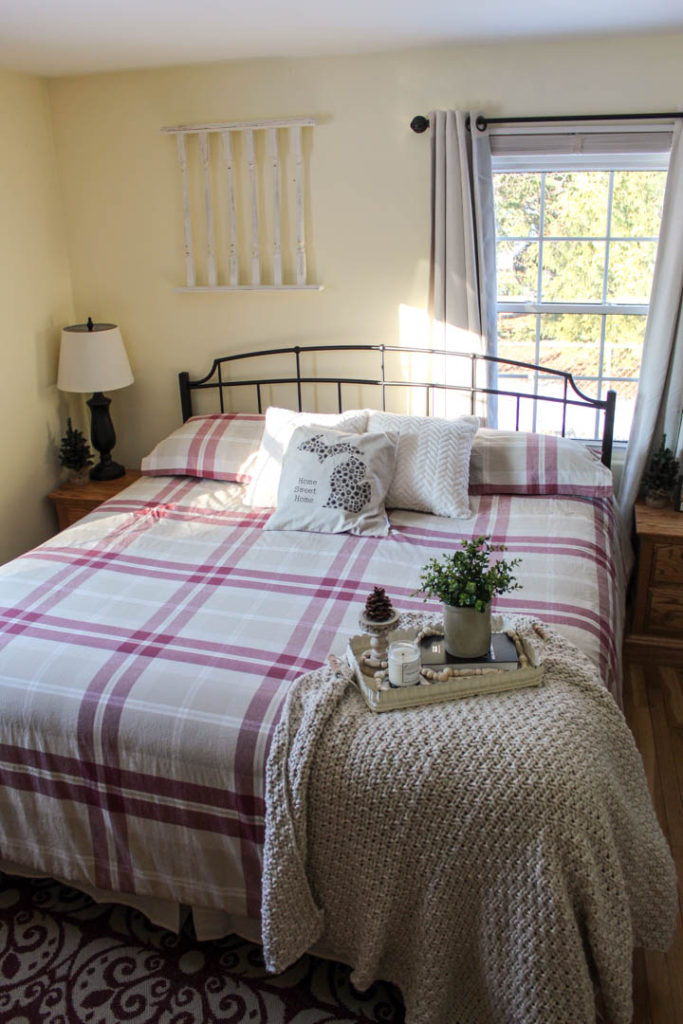
Like I said, I’ve been off work for a week and a half and I wish I could come to you here on my blog and list all of the fun and productive things we did, but I can’t. You know why? Because we were so lazy and it was AMAZING! But we did manage to get one project done and up on the wall, and that would be my amazing vintage find from Garden House Vintage Market (check out their Instagram too!). If you’ve been following along with me on my Instagram stories, you will remember that I found this old railing the last time I went antique pickin’.
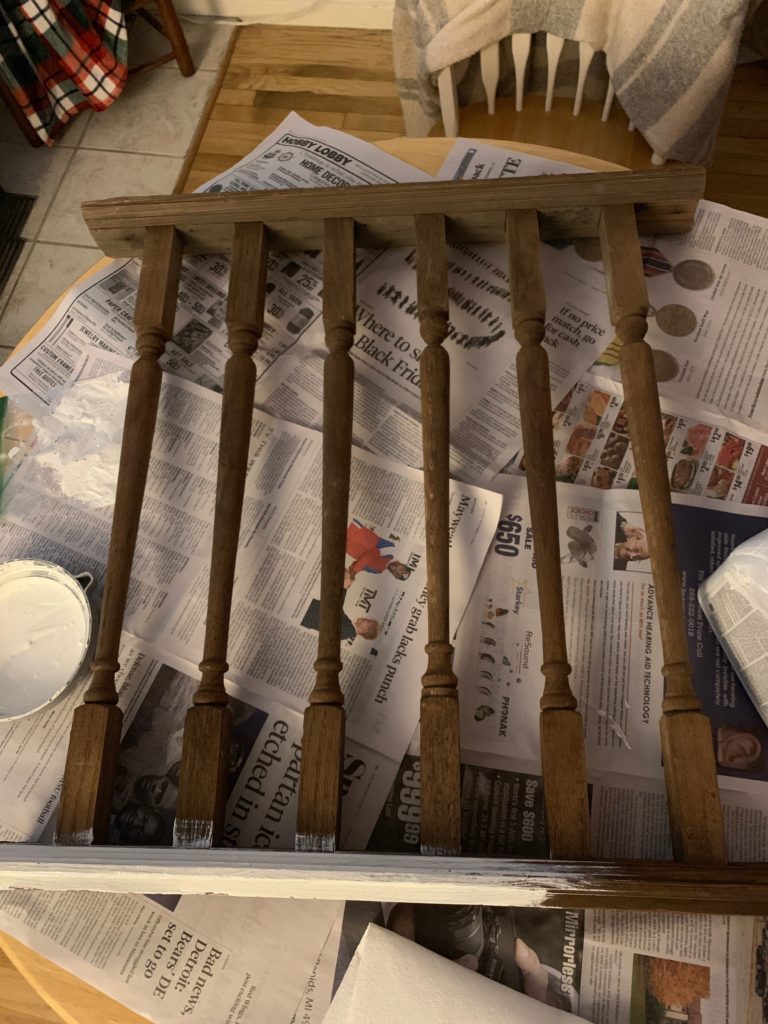
So of course I forgot to take a true “before” picture, but you get it I’m sure. It looks like a piece of railing from a porch or even part of a banister. I felt like the wood was a little dark, so I decided to paint it white. In true Lindsay fashion, I did this at night because I got the urge to just “be creative.” My creativity was not going to be stifled by the fact that I was completely out of my Rust-oleum Chalk Paint! Now if you are going to embark on a journey to paint a piece of furniture or a fun architectural piece, I would highly recommend using chalk paint. But, since I was out of my favorite, I settled for some regular wall paint that we had leftover from our bathroom. Not ideal, but see for yourself, it worked!
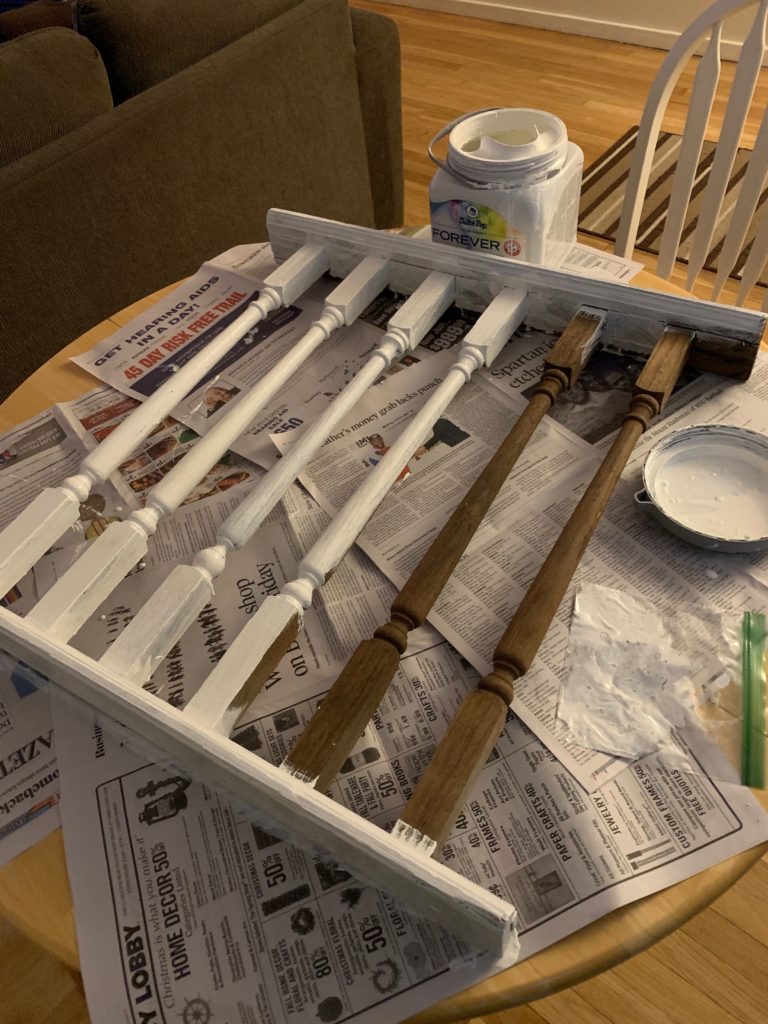
I wiped it down quick before I started painting, but didn’t do any sanding. I knew I wanted the final product to look antique and worn, so I wasn’t too worried about the paint looking perfect. Once it was completely painted, I let it dry and then starting roughing it up! I just took some sandpaper to it in certain spots, and I think it turned out great! I absolutely love how it looks in our bedroom!
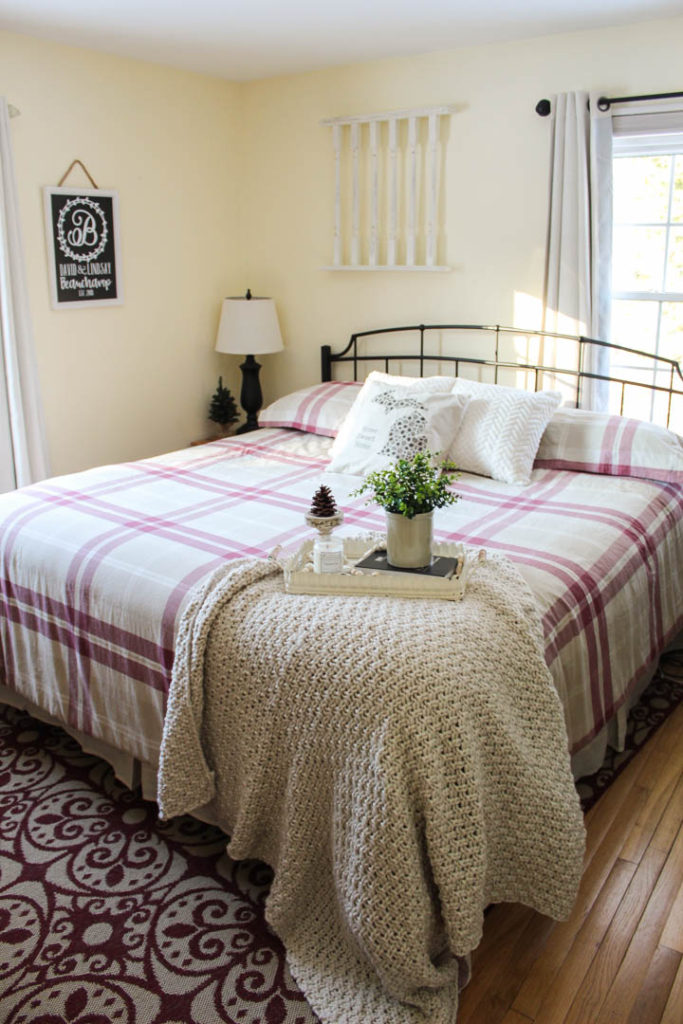
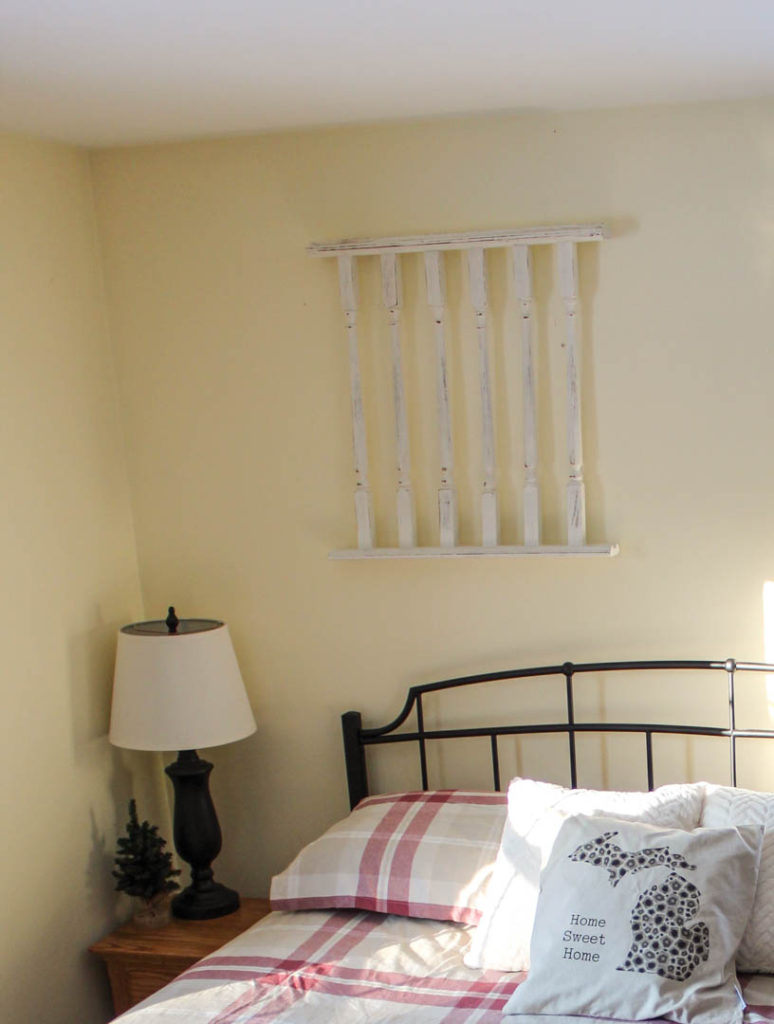
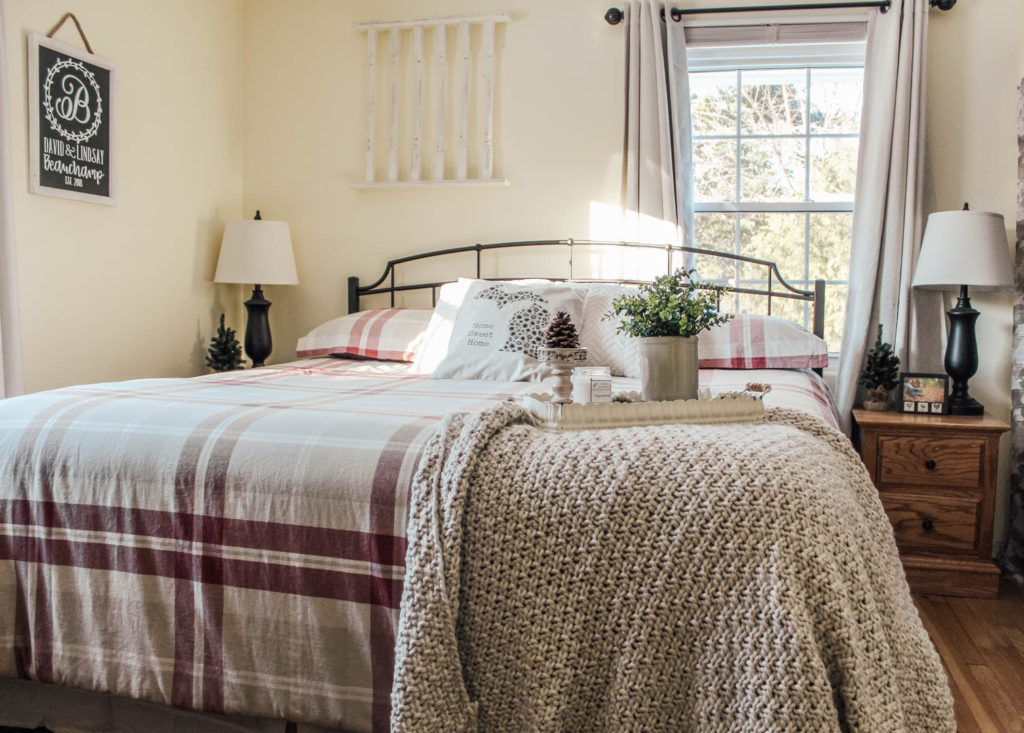
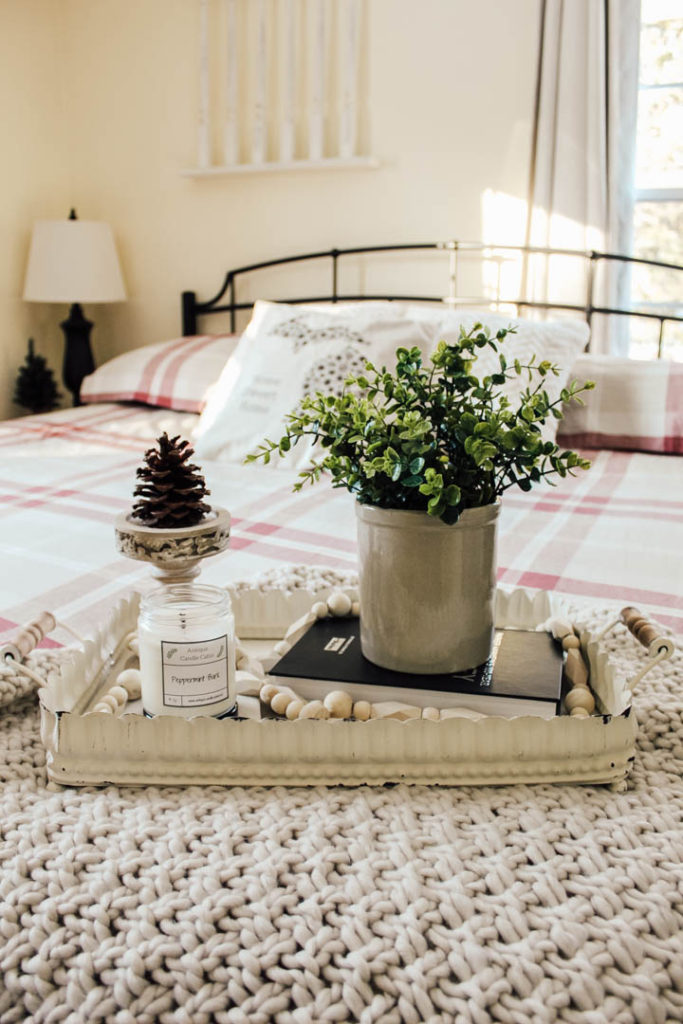
Since we have a window behind my side of the bed, it was tough to make the space behind our bed seem symmetrical. I think this piece does a good job of matching the shape of the window without being too overwhelming.
So there you have it! What really was our only project of break. Does anyone else ever feel bad when you don’t use your time off for something productive? What I REALLY want to do with this space is add sharpie shiplap behind our bed. With the bullnose trim we have in this home, adding shiplap to this space (real or faux like we did in our bathroom) would be really tough. Doing sharpie shiplap would be easy, temporary, and would easily fold into our trim. If you’re wondering what the heck I’m talking about when I say sharpie shiplap, check out Margaret over at @allthingschippy. Almost all of the “shiplap” in her home is made using a sharpie marker! So what do you think, should I go for it? Tell me in the comments below or over on my Instagram page so I can convince myself just to dive in!
Sources:
- Threshold Chunky Knit Throw: Target
- Greenery: Amazon
- Candle: Antique Candle Cabin
- Headboard: similar one found on Overstock
- Bedding: ours is discontinued but here is a similar one from Bed Bath & Beyond
- Michigan Pillow: Home Sweet Michigan
- Curtains: Bed Bath & Beyond