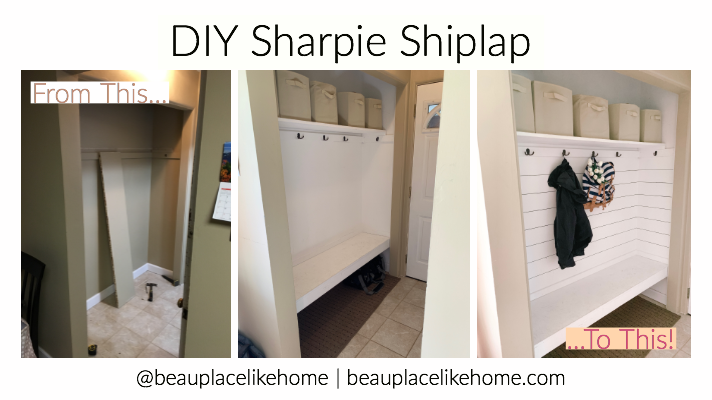
Well my husband was out of town, so I did this thing… Anyone else out there do a DIY when their significant other isn’t home so that they can’t tell you “no?” I knew he would like it as soon as it was done, I just had to show him the final product. This blog post is all about the DIY Sharpie Shiplap that I did in our entryway/closet! I”m super happy with how it turned out, and it was so easy! First, though, let’s start off with how it used to look.
This post contains affiliate links. Click here to view my disclosure policy.

When my husband bought the house, the entryway looked like this – except the shelf was on the wall. Silly me forgetting to take a true “before” pic 🙂 That shelf was up on the wall and there was a metal rod underneath which we used to hang coats. It made the entire space feel super crowded because the coats would stick out into where you walked in. Hello, Michigan winters. Well, we switch it up to look like this.

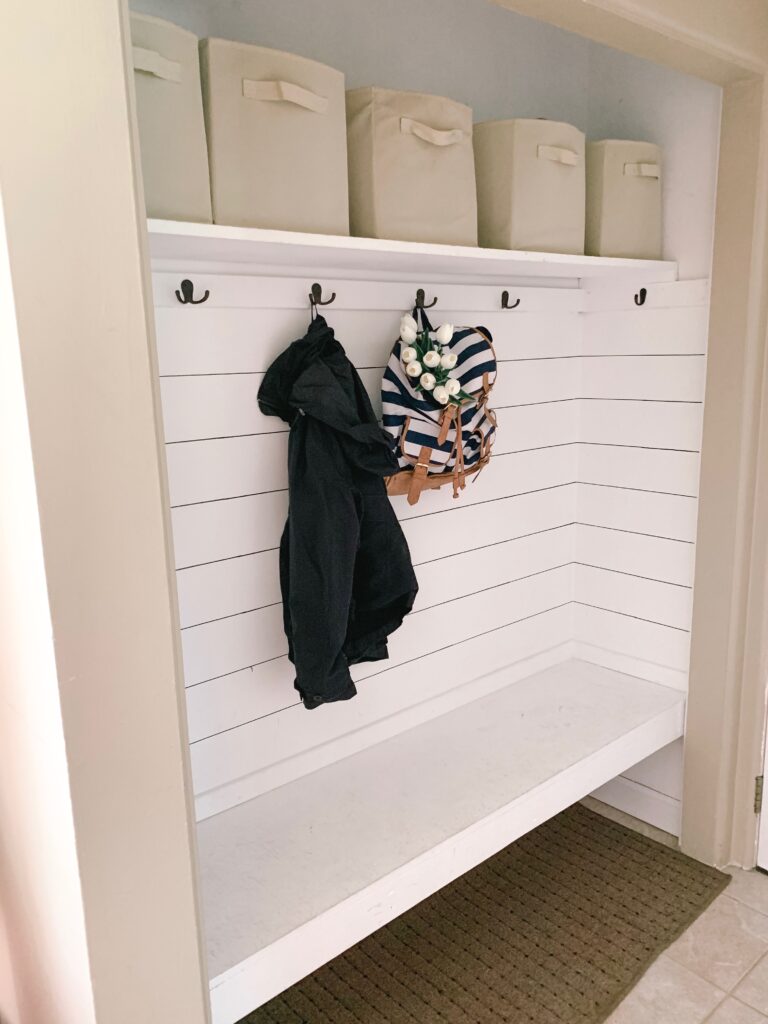
Not bad, right? It looks so much lighter, brighter, and less cluttered! We have hooks for our coats and space under the bench for our gym bags. The bench is perfect for sitting while putting on our shoes! I seriously love how it turned out. However, I knew something was missing. It was a little too plain. That’s when I decided to add in some sharpie shiplap!
I was inspired by my friend Amanda from @comestayawhile when I saw how she did her entire office in sharpie shiplap (see above). I didn’t want to do a space that big, though, so I thought our entryway would be perfect. The first thing I did was order my sharpie off of Amazon. This is one one I used.

When you first open it, the tip will be white. You have to shake that sharpie like CRAZY for the paint to soak down into the tip. Don’t worry if it doesn’t work right away. It didn’t for me either. Next I got my handy level and spaced out my lines 5 inches apart. You an do whatever spacing you like, but that seemed like a good size to me. I started my first line at the top so that if I needed to do a smaller “board” it would be at the bottom.

At first I wanted to just use the sharpie right on the level, but I ended up being glad I used pencil first. That level was rather heavy, and every once in a while it would slip. Luckily, pencil comes off very easily!

I decided to do the long wall first. This would be the wall that people would notice the most, so I wanted it to be spaced perfectly. I then made sure to line up the corners and use a smaller level to make the side lines. It is SO important to make sure your corners match up. I recommend starting in the corner and drawing out.

Next it was time to trace over the pencil lines with my sharpie! I used a ruler, but any straight edge would work fine. Bonus points if you have a yard stick on hand, because that would make things so much faster on the longer lines. See that tiny ruler? That’s all I had, so I made it work! I was seeing progress, though, so I was happy!

Quick tip: go slow when using the sharpie. A couple times I got a little cocky and didn’t pay enough attention. I have a few marks like this on the wall, but thankfully it isn’t anything a little while paint can’t fix!


And finally it was completed! This entire project took me about an hour and a half I would say. It was a rather tedious project, but not hard at all. I LOVE that it really does look like shiplap, but I didn’t have to put any nails in the wall! My next steps for this space would be to hopefully get a bench pad. I like this one from Amazon that comes in lot of colors! I also like the simplicity of this one so that it doesn’t take away from the detail of the DIY Sharpie Shiplap. Because it is a unique size, we may need to get one custom made.
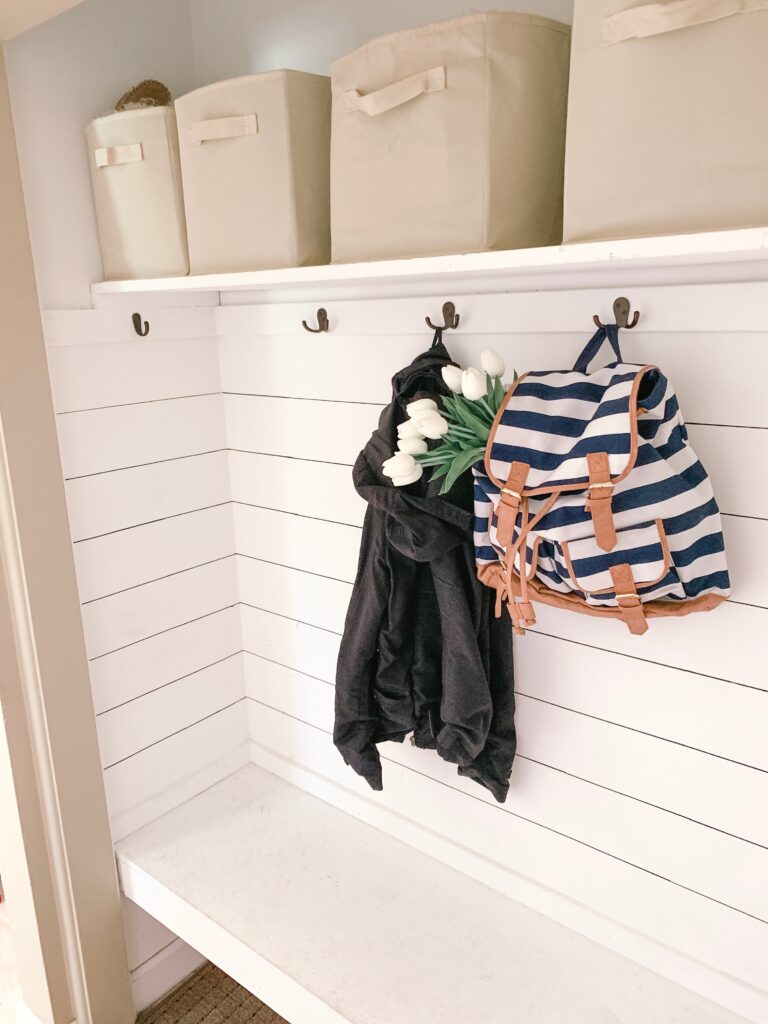
Overall I am so so happy with how it turned out! It is a very small DIY that anyone can do. And you know what? If the next owner of our house doesn’t like it, they can simply paint over it! No big deal! For now, though, it makes me happy walking through the door and hanging up my purse in front of my DIY Sharpie Shiplap. Do you think this would be something you might attempt? Let me know in a comment below!
