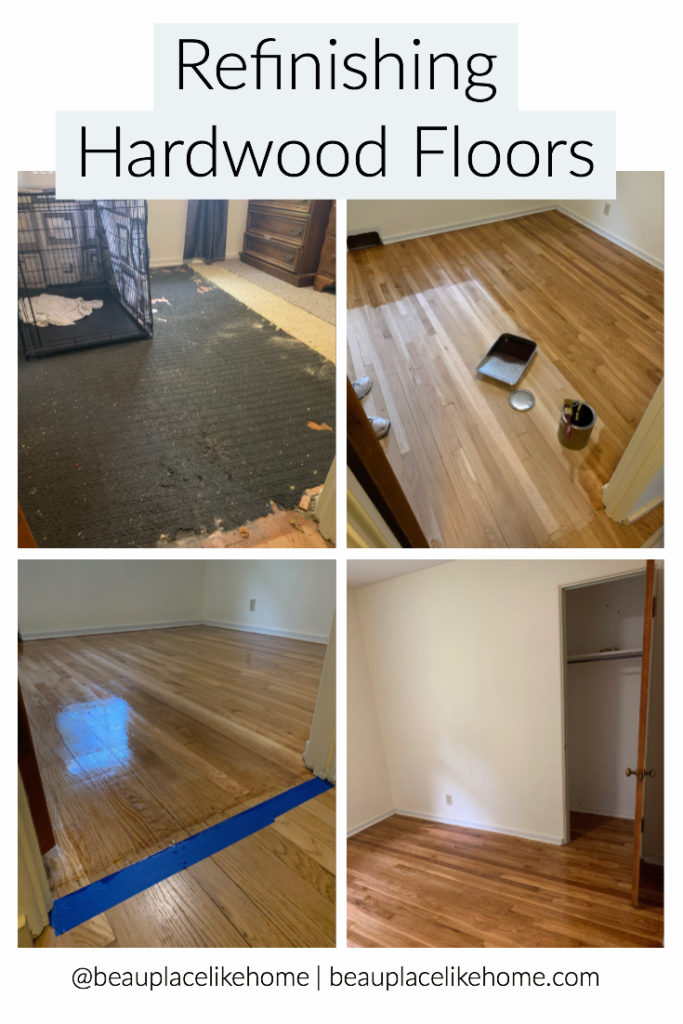
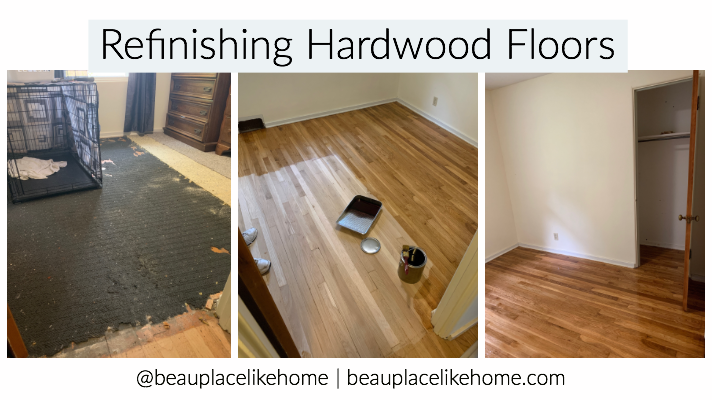
We have been hard at work lately in our middle bedroom refinishing hardwood floors! And by “we” I actually mean my husband and my dad 🙂 If you have been following along on Instagram, you know that we used to have ugly, dirty carpet in there. A few weeks ago we ripped out that carpet and found that the previous owners had GLUED the carpet to gorgeous hardwood floors. I want to give you a quick rundown of what we’ve done so far, and a glimpse into what we have planned!
This post contains affiliate links. Click here to view my disclosure policy.
In typical Lindsay fashion I forgot to take a true “before” picture, but you’ll get the gist from this next picture. On the far right you can see some of the old carpet. To the left of that is the under-carpet padding, and the black padding is what was glued to the wood flooring.

I wish I had a video of my husband scraping this padding off. He was seriously getting a workout in! We had this tool leftover from another project where we had to scrape tile off a cement floor. It actually worked really well in getting this padding off without doing too much damage to the hardwood floors.
After scraping the pad off, we rented the jumbo sander from Menards to remove the leftover padding and sand off the stains. We were worried we’d be left with some small stains here and there, but we were able to remove all but a couple in the corner. The floors looked SO much better than I could have even imagined!

Now let me tell you, this process creates SO MUCH SAWDUST! We had dust all throughout our house, and when we turned the heat on, it puffed it all back up into the air and onto the furniture. Totally worth it though. Throughout the week after sanding the floors, we dusted the walls multiple times and vacuumed the room a few more. It is very important to get the room clean before you put down the stain.
The night before we stained we did a final vacuum and wiped the floors down with a wet cloth to get the rest of the dust. If you are attempting this, please make sure to do the closet as well! The last piece was taking a tack cloth to get the last of the sawdust that may be lingering around on the floor.

Now comes the staining time! We used Minwax Super Fast Drying Polyurethane for Floors Satin from Menard’s to simply seal our hardwoods (convenient Amazon link here). The rest of our house is pretty natural, so we wanted to follow suit the best we could. In the photo below you can see my dad using a tool similar to this one to spread the stain. My husband went around the edges with a paint brush first to get as close as possible to the trim.

After the first coat, we were getting very excited, but after the second and a little drying, it was looking SO fantastic!


We were worried after pulling up the carpet that we would have to re-carpet due to the glued down mat. Thankfully with a lot of hard work and some much appreciated labor from my dad, we now have gorgeous hardwood floors in here!

I have tentative, yet exciting, plans for this room that I’m not quite ready to share yet. But, I can give a quick list of quick action items we’re hoping to tackle in the next few months. We won’t be adding any furniture until at least December to let the floors cure and dry 100%.
- Patch up the holes in the closet, sand them down, and repaint.
- Re-paint the trim.
- Replace the old light fixture with something more modern.
- Re-paint the ceiling.
- Install new blinds.
I know these may not seem exciting, but not all home renovations are. I can’t wait until we can officially turn this room of doom into a gorgeous space that will actually be Instagram worthy 😉 Make sure to check out my highlights on Instagram to see more of the process. Let me know if you have any questions about refinishing hardwood floors!


Thank you. Hardwood floor refinishing is a fairly simple do-it-yourself project.
Thanks for sharing such an informative blog! The hardwood floor refinishing process is easier and less expensive than sanding.
Thanks for stopping by! We’re so happy with how this turned out!