
Well folks, I’m right in the middle of “no spend January,” and so far I’ve been doing pretty well. I’m restricting myself to no spending on frivolous things such as new home decor, clothes, etc. I thought this would put a hold on my creativity for the time being, but you know I couldn’t let that happen. For over a year now, my wedding bouquet has been hanging up downstairs drying. Over the weekend I decided to do an easy DIY wedding bouquet shadow box, and I’m super happy with how it turned out!
This post contains affiliate links. Click here to view my disclosure policy.
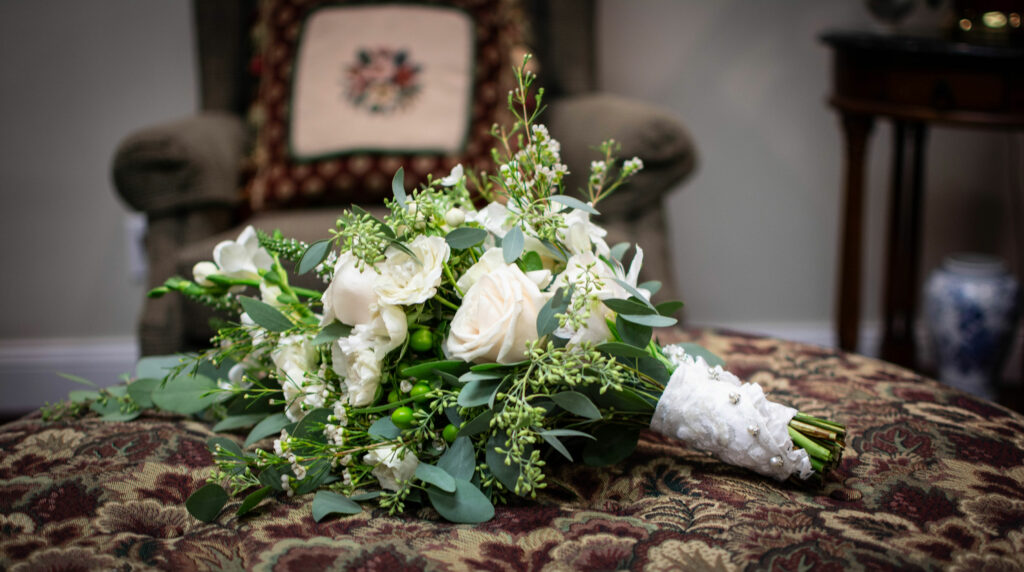
First, let’s see how it started. Photography by Colin Collins Photography.
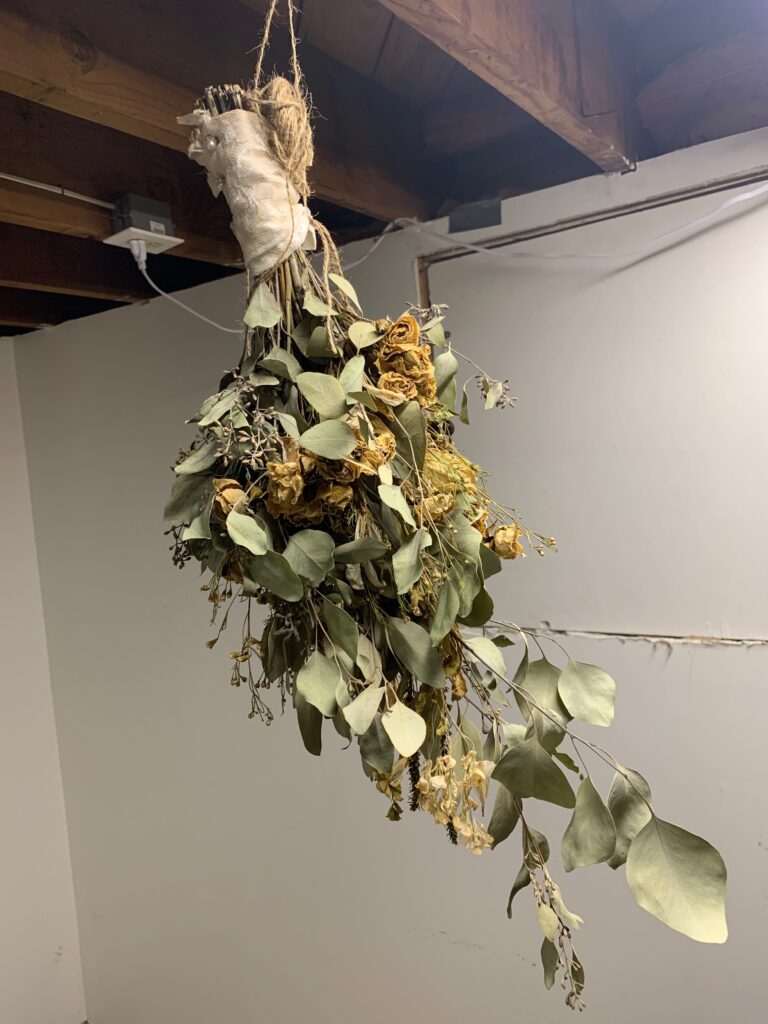
And then it turned into this… I had been letting my bouquet dry for over a year, which was much longer than it needed to be. However, to the touch it was clearly completely dried out and ready to be turned into a DIY!
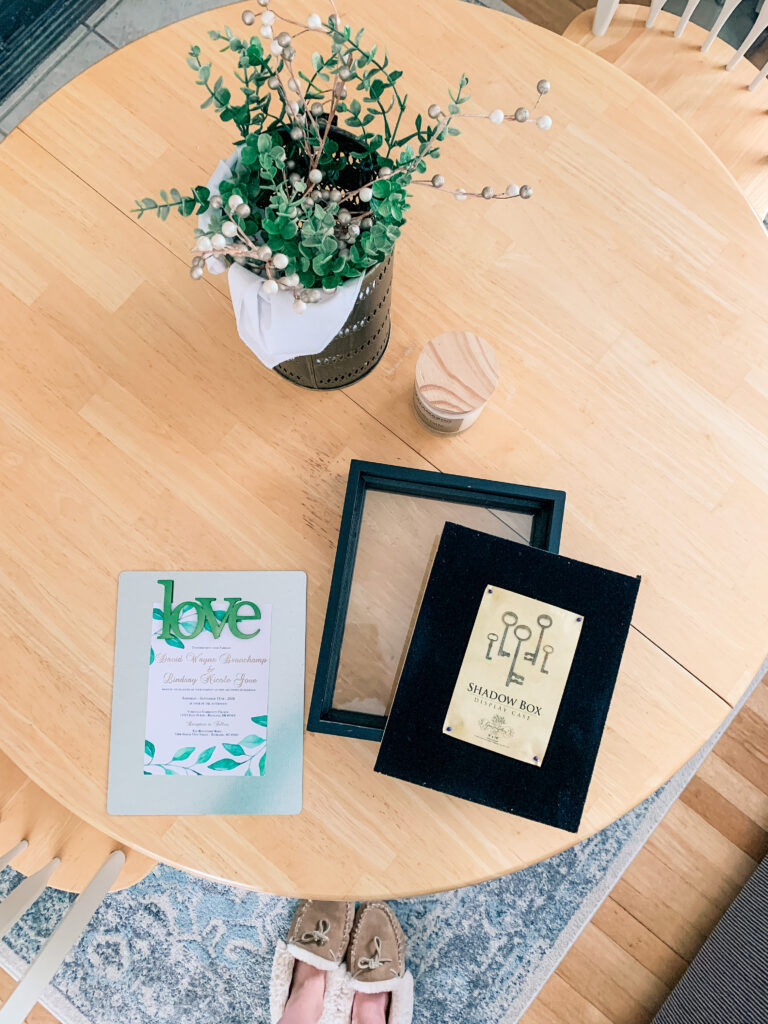
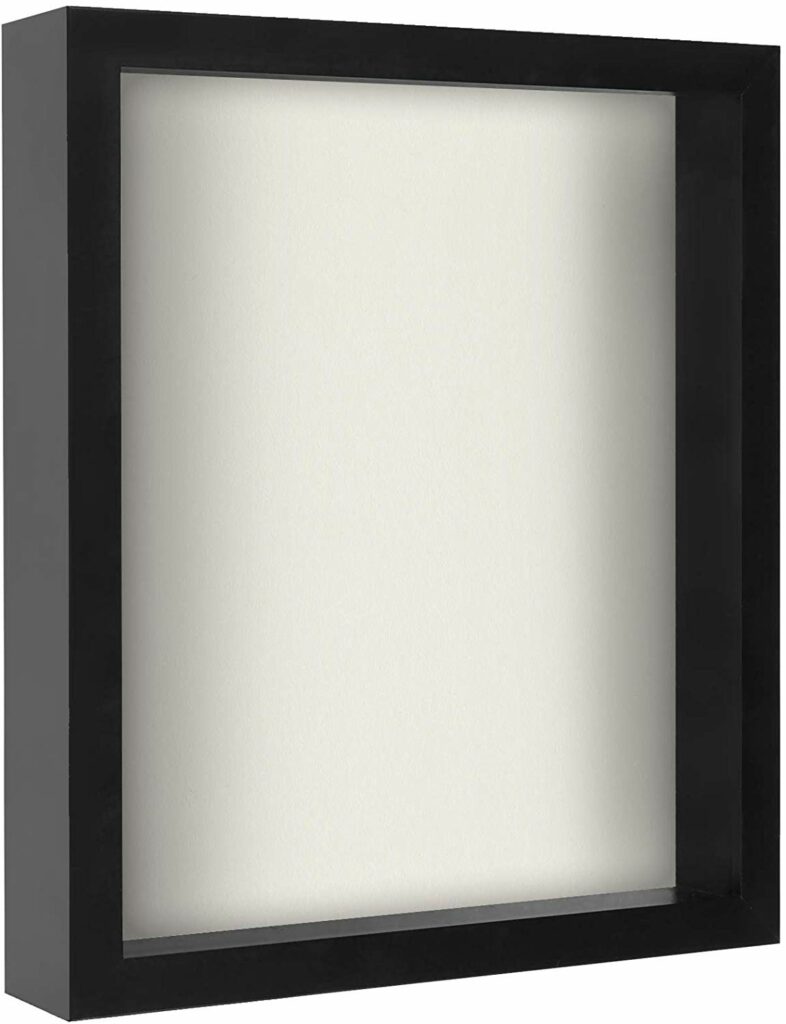
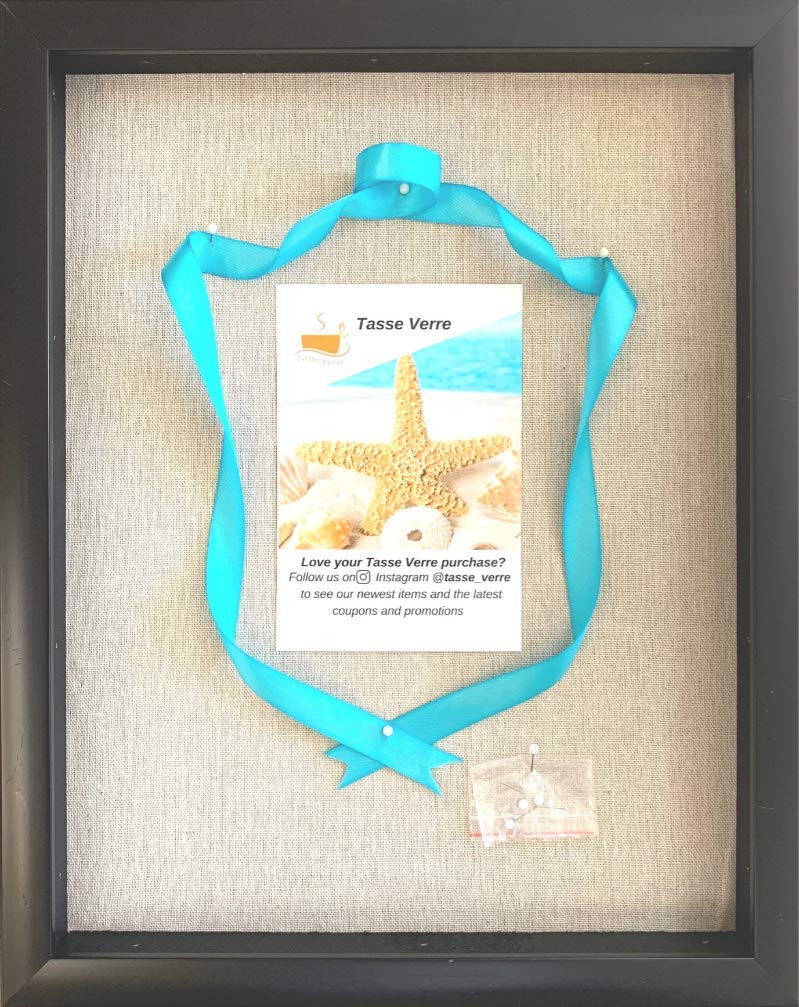
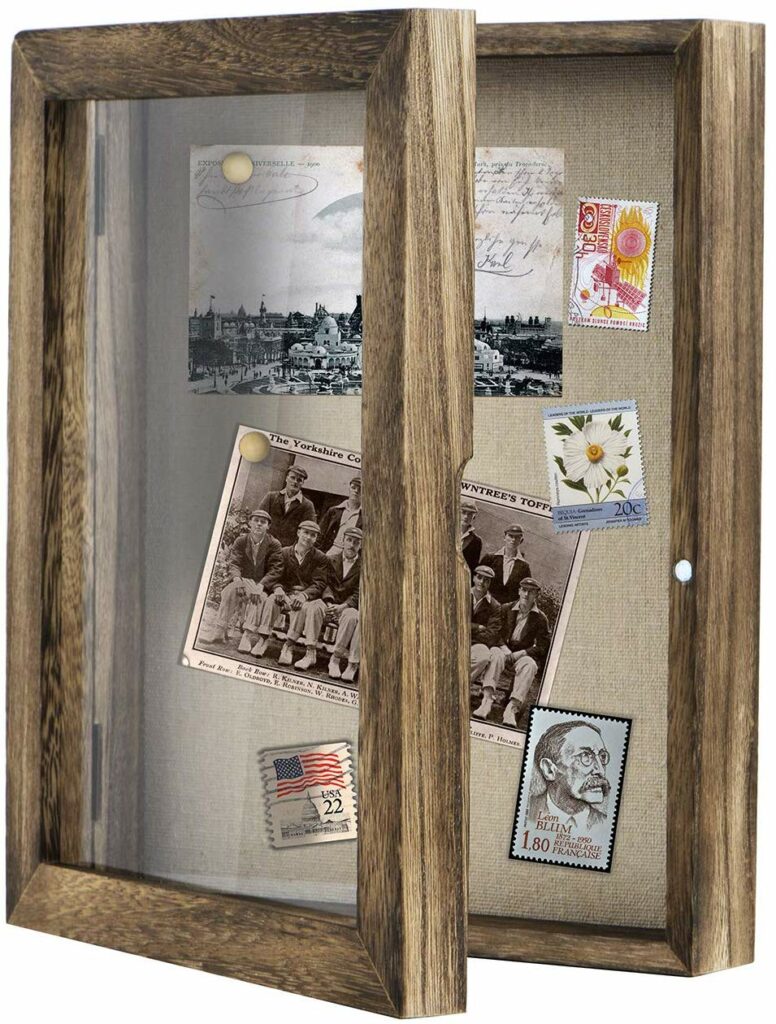
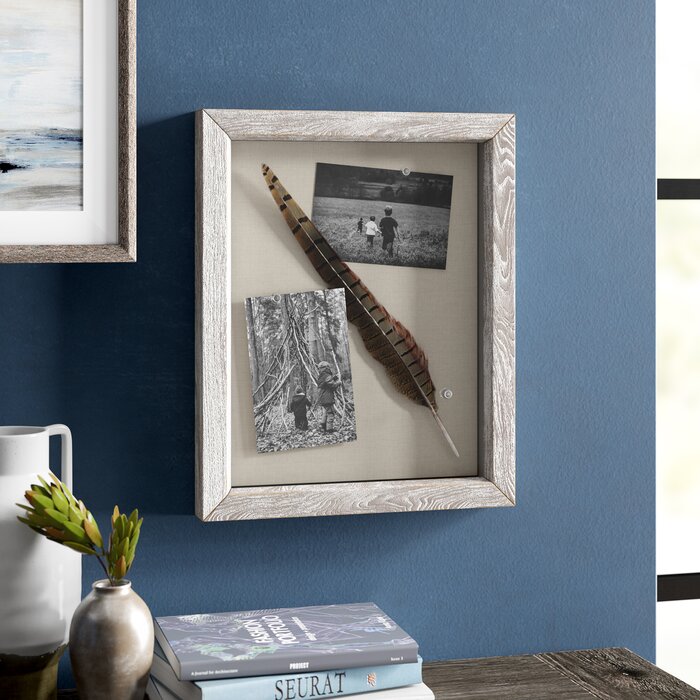
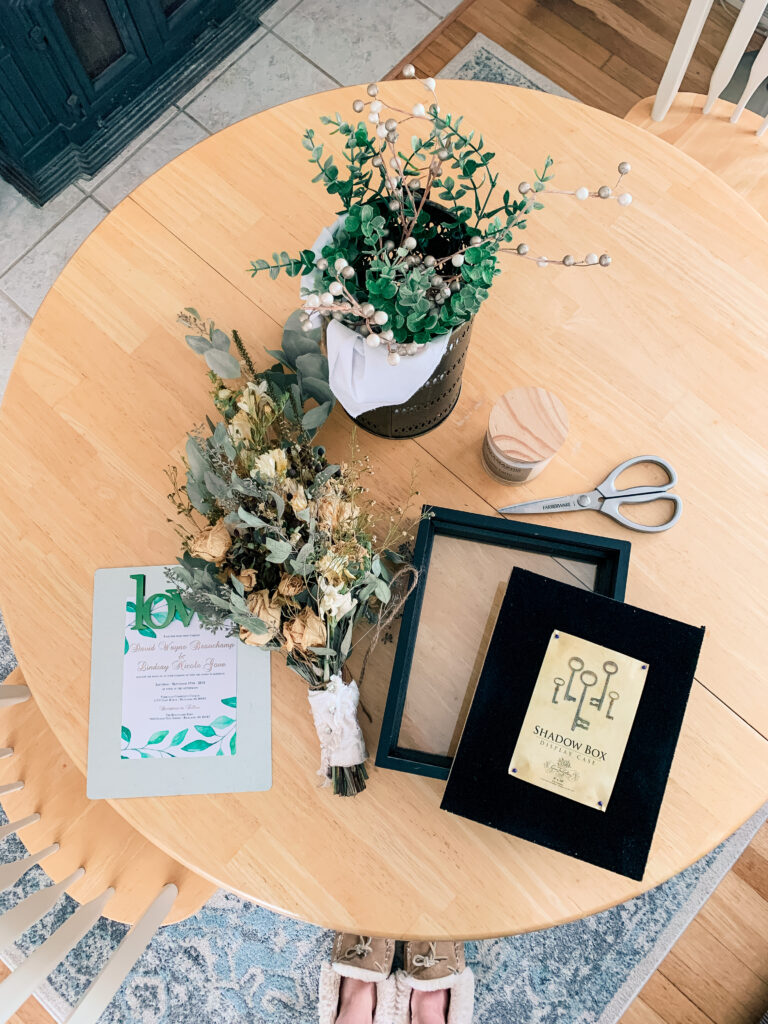
I’ve had this shadow box stored in my desk for quite a while, just waiting for a reason to use it. I had an idea in my head to do this DIY wedding bouquet shadow box, but hadn’t gotten around to it. What better time than no spend January? If you need to grab a shadow box, snag one of these for a good price.
The supplies I used are:
- Shadow Box
- Dried out wedding bouquet
- Scissors
- Wedding invitation
- “Love” magnet
I decided to cut off at least one of each of the elements used in my bouquet. As much as I would have loved to keep my entire bouquet, I didn’t want it to look too cluttered inside of the shadow box. I also wanted our invitation to be visible enough to read.

My bouquet was so dried off that most of the flowers snapped right off. I knew where the invitation would show in the shadow box, so I placed the flowers and stems around the bottom and sides to frame the invite. I used the stems to frame up the sides of the invitation.
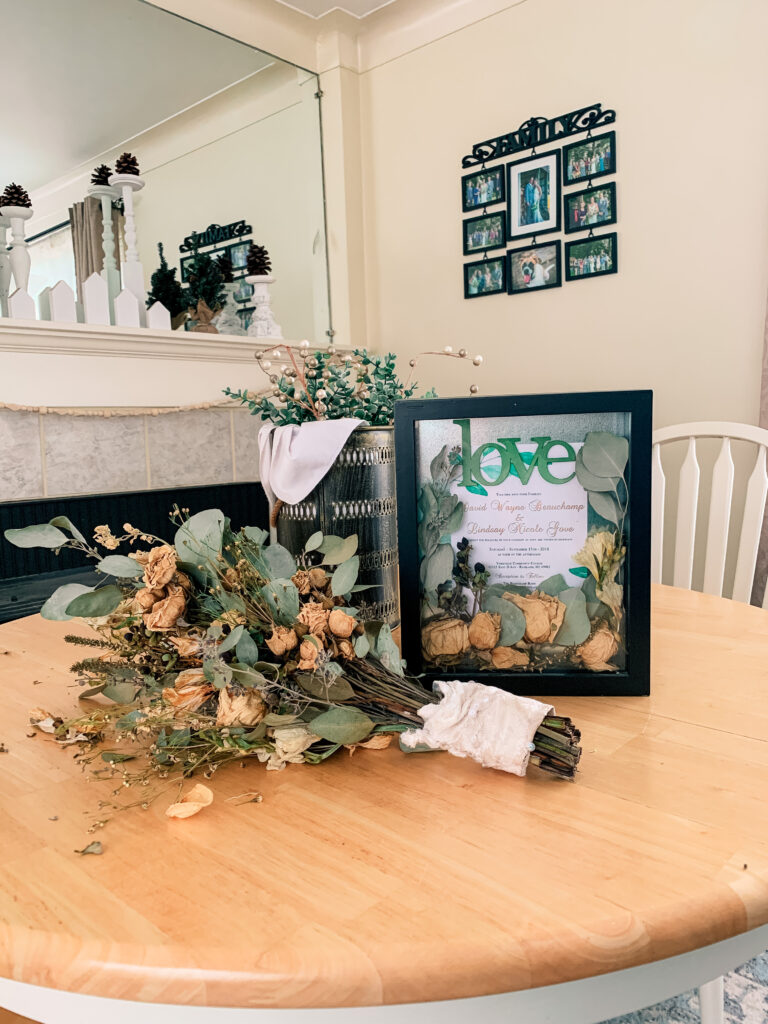
As you can see, most of my bouquet is left over, and it hurt my heart so badly to throw the rest away! But I know that I will have this shadow box as another reminder of the beautiful wedding we shared with our friends and family.

Overall I’m very happy with how it turned out! What I love even more is that it didn’t cost me a thing! I highly encourage you during this time of year to go through your home to find fun items for DIY projects. Repurposing and reusing things around your home will not only help your budget, but also you’ll have new decor that you didn’t even know you needed!
Do you like when I share easy DIYs? I love this creative side of blogging, but I want to make sure I’m sharing projects that you find helpful! Let me know in the comments below or over on my latest Instagram post!

That’s beautiful. Thinking of doing something like that for my daughter with her wedding flowers. Didn’t you have to use any hot glue at all,
Thank you Arlene! It was very simple and no hot glue required! Now, my florals we’re still rather large and they pressed right up to the glass. I think it would depend on your shadow box and florals. I liked knowing that I could switch it up if I wanted to 🙂 I’d love to see what you come up with!