
Happy April Fool’s Day everyone! Here at Beau Place Like Home you won’t find any tricks, just a real treat! Today I have partnered up with some of my greatest Instagram/Blogger friends to bring you a DIY Blog Hop event. Myself, Holly, Becky, Kayleigh and Kailey are showing you how we’re sprucing our homes up for Spring! Make sure you read all the way until the end so you can head over to see their awesome project. Alright, here we go!
This little header above our sink has always given me trouble when it comes to decorating. It is too thin to put most signs, but it just looks so bare, don’t you think? (Of course this is the only picture I could find that included the header!)

This post contains affiliate links. Click here to view my disclosure policy.
I’ve been thinking for months that I should just make my own, and I have finally gotten around to it. And just so you know, it was super easy and it ended up costing me about $3! This little change seriously adds a huge change to our kitchen!

So first, here are the supplies you are going to need. I have linked many of the supplies from Amazon for your convenience.
- Wood board cut to size
- Black paint
- Small paint brush
- Pencil
- Computer/Printer *optional
- Chalk *optional
- Tape *optional
- Black sharpie *optional
- Thin wood trim
- Wood stain (your choice in color)
- Wood glue
- Command Strips *optional
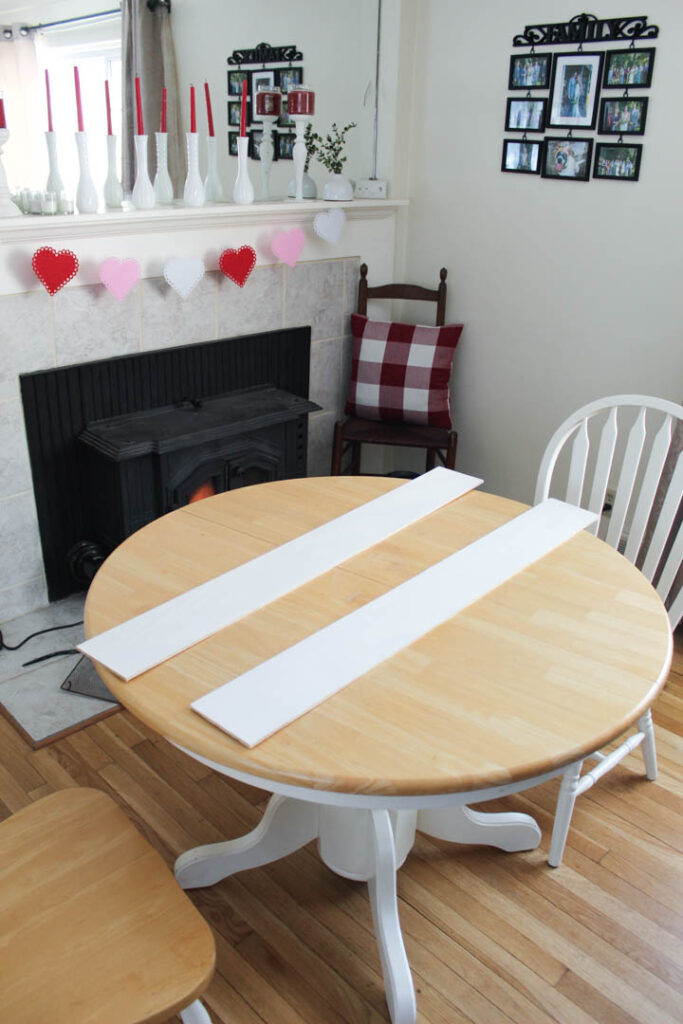
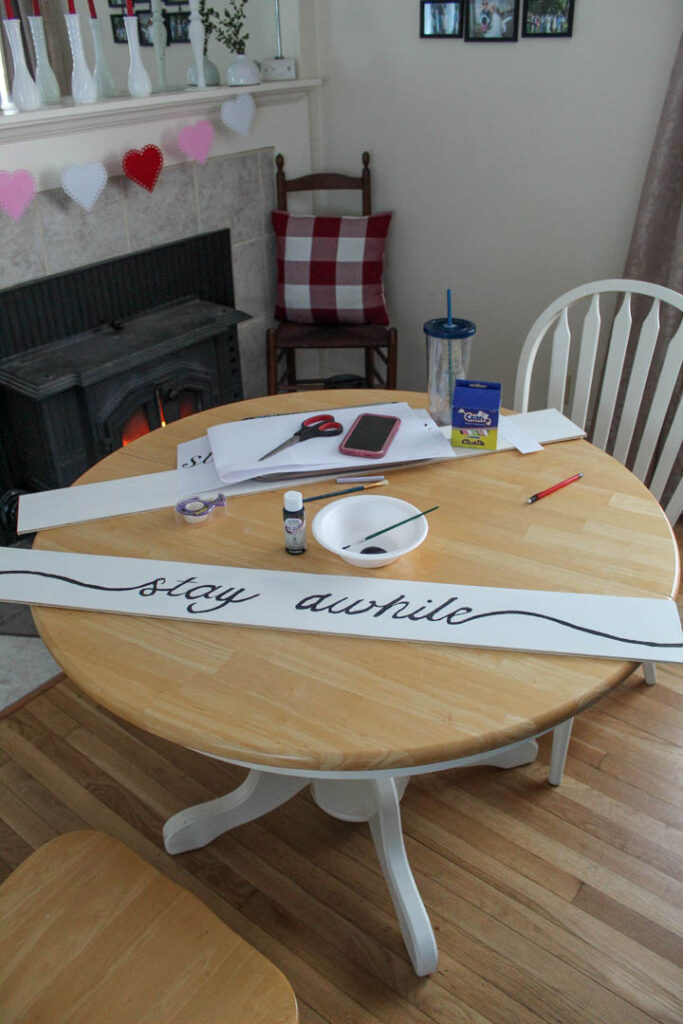
For my wood board, I used a piece of leftover plywood shiplap we had from our latest bathroom renovation. I hauled it over to my parents’ house and my dad ripped it down to size for me. My sign ended up being 5 inches by 3.5 feet. The beauty of DIY is that your sign can be whatever size you want it to be for your space!
The first thing I did was pick which quote I was going to use. There is SO much inspiration on Pinterest, so it can sometimes be hard to choose. I ended up going with “stay awhile” and I wanted it to be in loopy cursive. At first I taped a few pieces of computer paper together and tried to write it out by freehand, but I didn’t love the way it turned out. So I opened up my computer and typed it out in Microsoft Word and then searched for a font. Mine ended up being Snell Roundhand in size 300. This fit perfectly to my sign and I loved the classic loops.
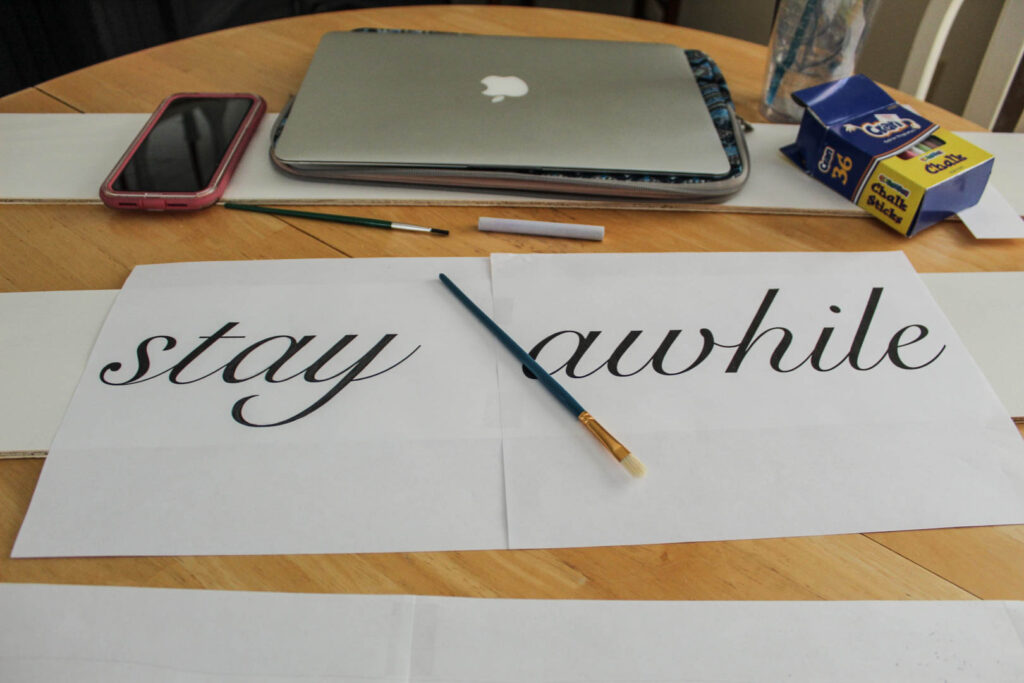
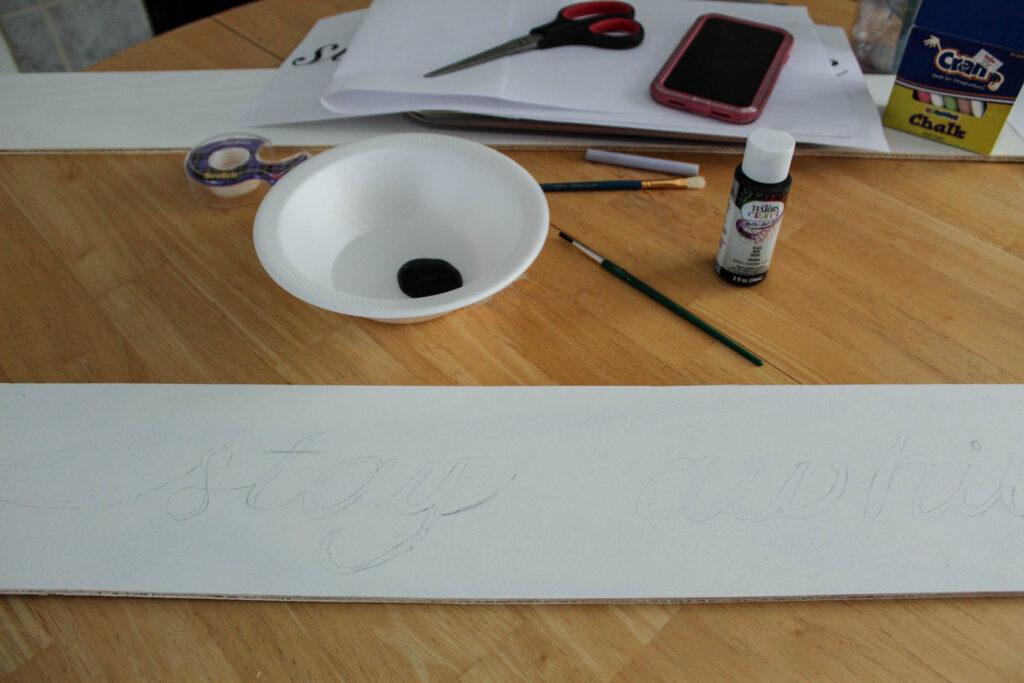
After I printed off my wording, I taped the pieces together at the spacing I wanted them. Next I took my piece of chalk and rubbed it all along the backside of my words. I used a piece of purple chalk because I needed it to show up on my white shiplap. If I had been using a darker color sign such as black or natural wood, I would have been fine with white.
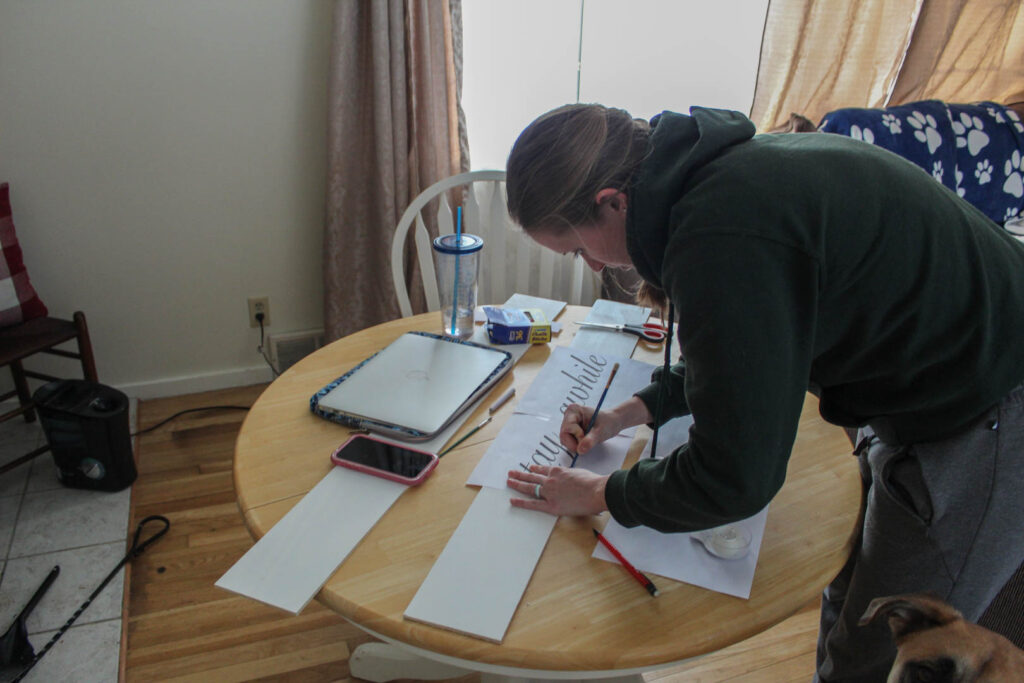
Then, after I had enough chalk on the backside, I flipped it over and centered it on my sign. I then used the hand end of my paintbrush to trace my letters. I recommend pressing down pretty hard so that you are able to get the chalk to stick to your board.
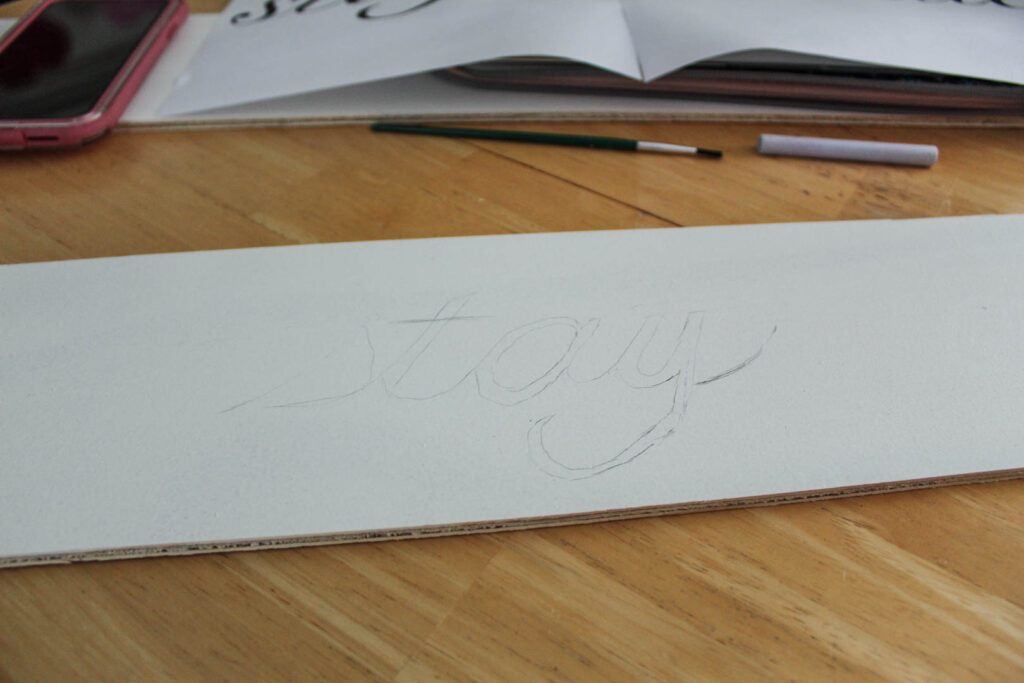
Once I was done tracing, I removed the paper and there was a slight trace of chalk left on the board where my letters would go. I used my pencil to trace the chalk and ta-da! I had my phrase.
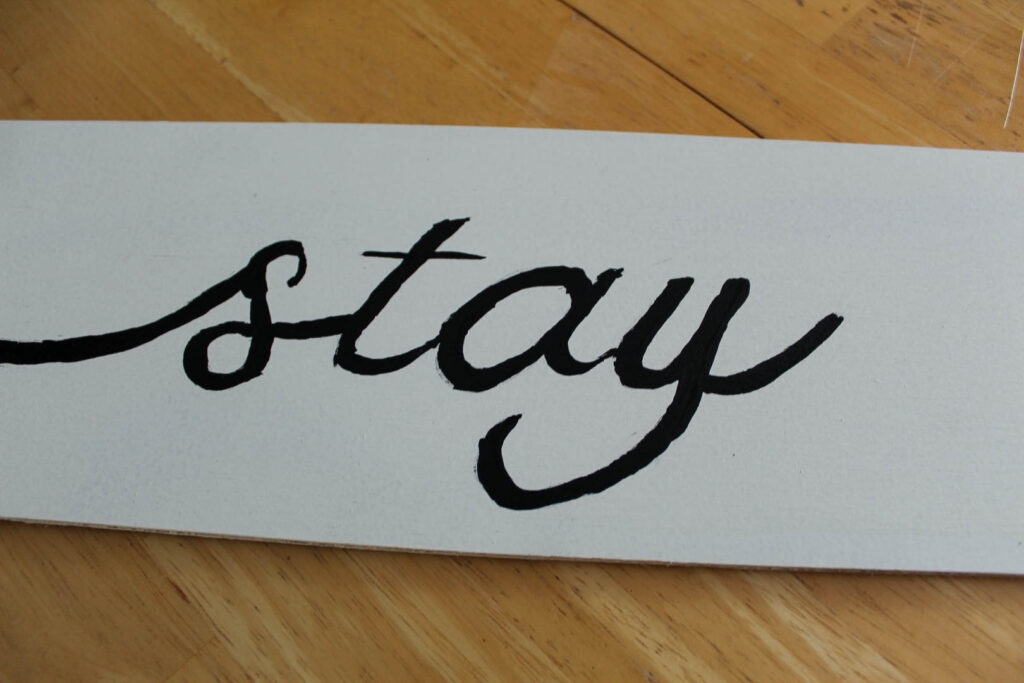
The next step is to paint over your pencil marks. After I was done painting, I decided that I wasn’t happy with the final product. My letters weren’t as smooth as I would have hoped. So, I let it dry overnight and then the next day I took a black sharpie to it. I used my sharpie around the edges of some of my letters to smooth them out. Because the sharpie is not as dark as the paint, I did this very sparingly, but it did make a big difference!

Originally, this was going to be the end of my project. I thought I just wanted a plain, white, shiplap sign, but it turned out to be too plain. I decided to add a wood trim around the edges.
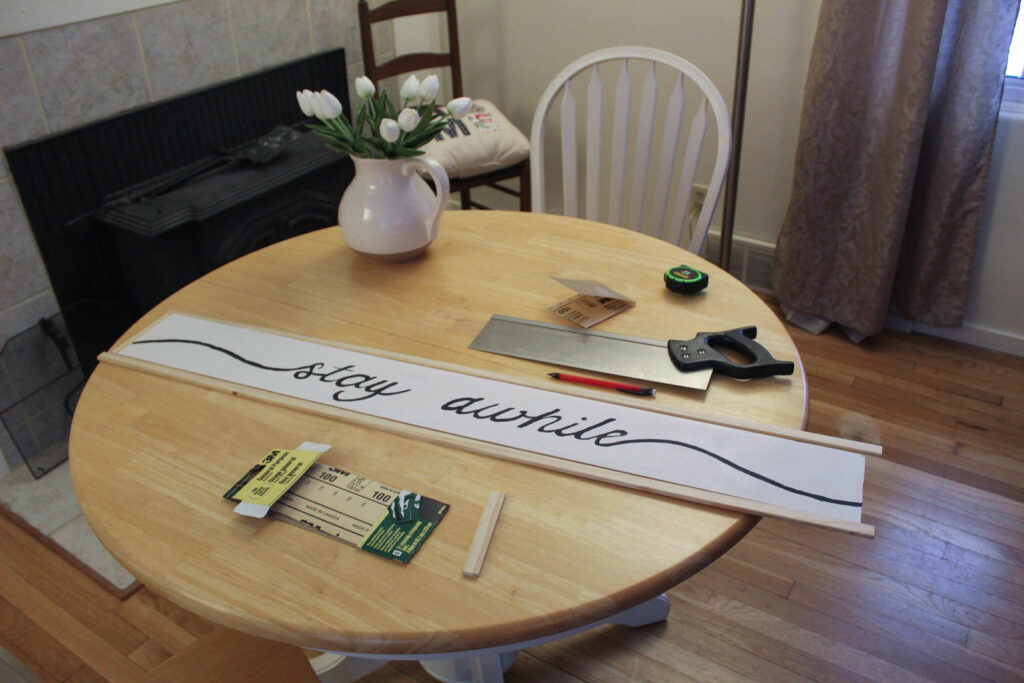

I did this by purchasing small, wood trim. My husband and I cut it down to size and then stained it. I then used some wood glue that we had lying around the house and I glued the trim to the edges of the sign.
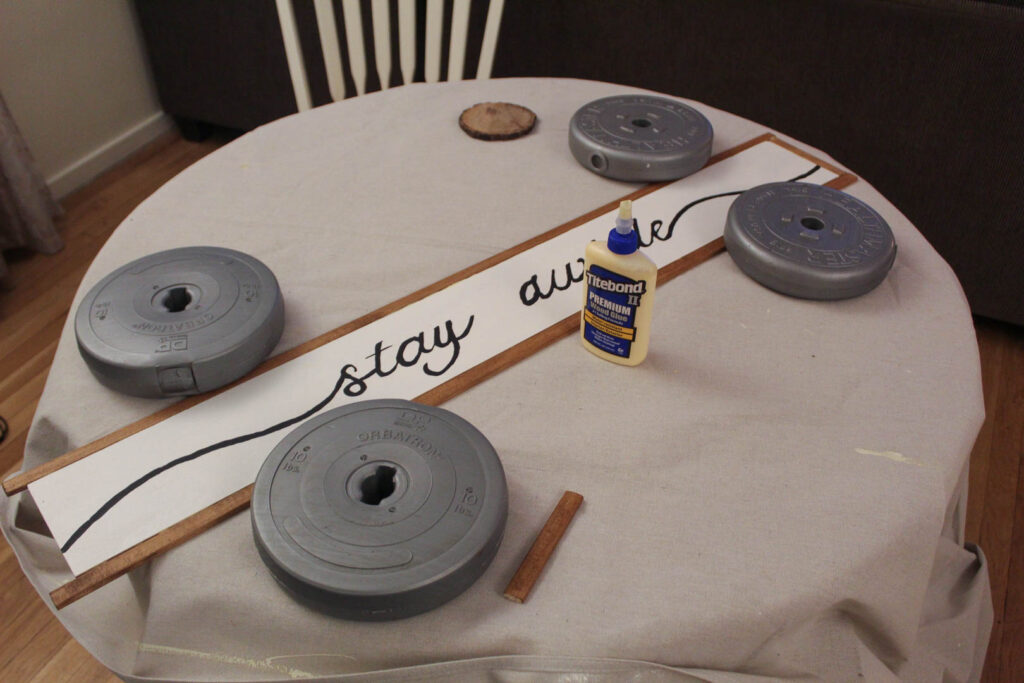
Because the trim boards were not completely straight, we had to use weights to keep them in place so that the glue could stick. I bought two trim boards which cost me $3.19 each. These were literally the only things I bought for this project! Everything else I had around the house already.
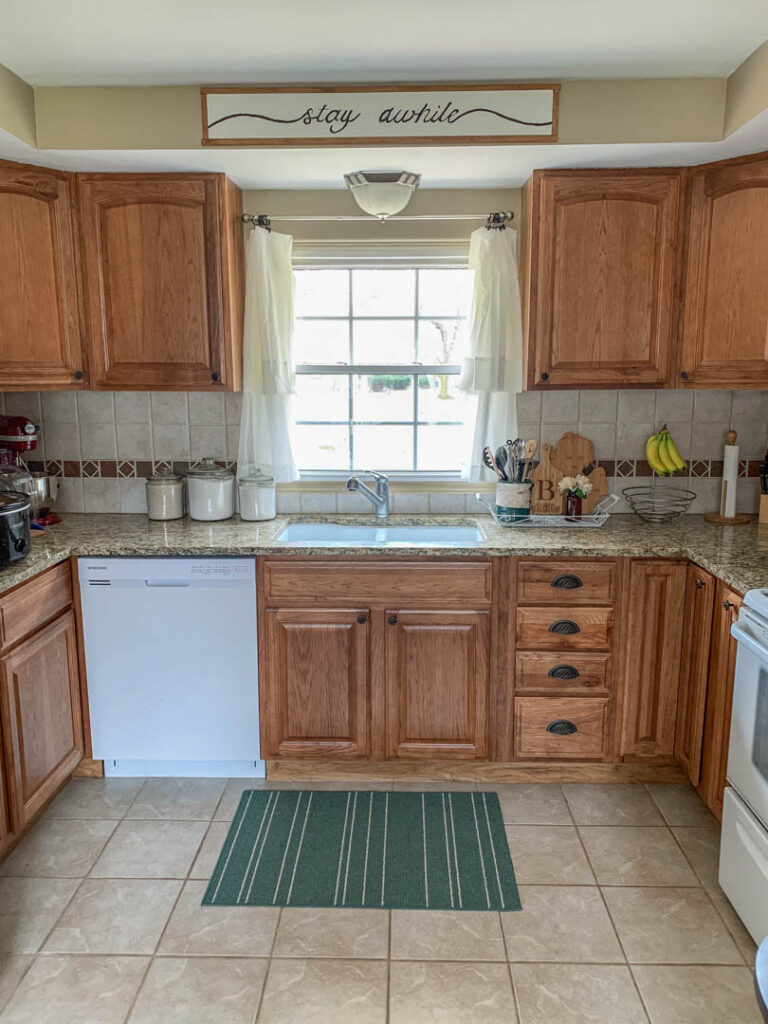
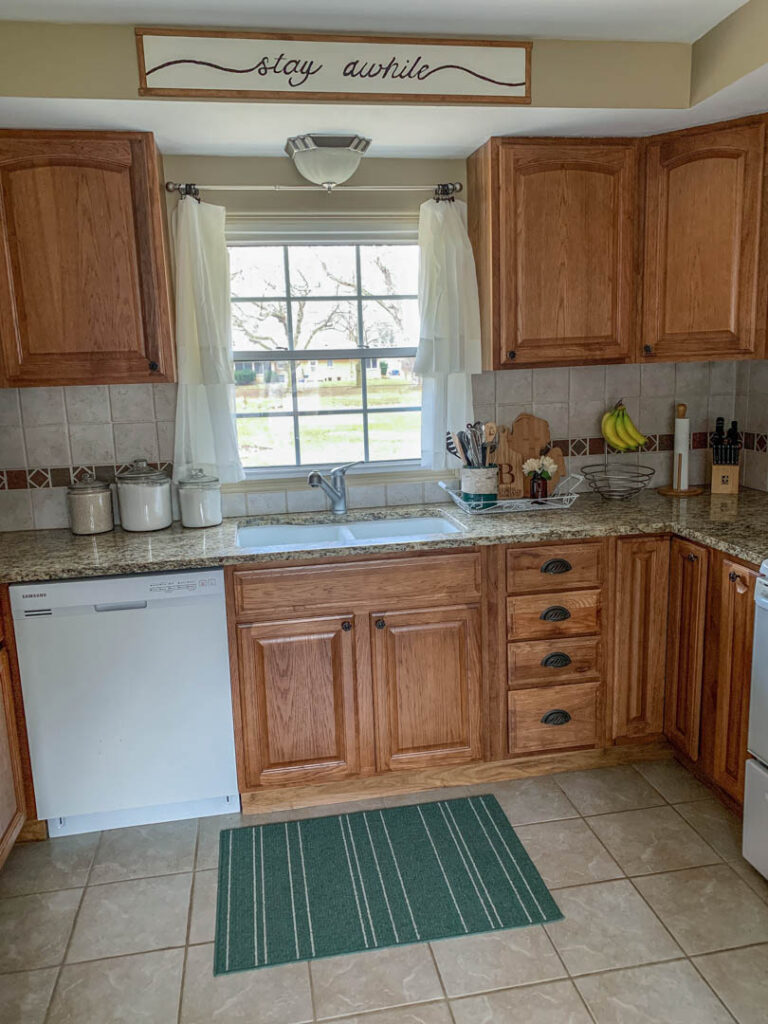
I love how my sign camouflages that ugly header. It actually looks like it was perfectly made for this space (because it was :)). I hung my sign using Command Picture Hanging Strips because my husband is sick of putting more nail holes in the wall. I also found that this works better because the sign is so thin.
Thanks so much for stopping by. Make sure you go check out my friends’ posts below. See, I told you that you were in for a treat!

Kailey – Bungalow One Seventeen

This turned out great and it was fun to follow along with your process. It looks perfect there!
Thank you Becky! I had a lot of fun doing it 🙂
Very nice post. I sіmply stumЬled upon your Ƅlog and wanted to saʏ that I’ᴠe truⅼy loved broѡsing your blog posts.
After all I’ll be subscribing for yoսr feed and I’m hoping you write again soon!
Thank you so much! Working on something new very soon 🙂